A country electrician is a well-known problem; in most cases, the attitude towards it is disregard, if not worse. If there is an opportunity to connect something wrong and not there - this, of course, will be done.
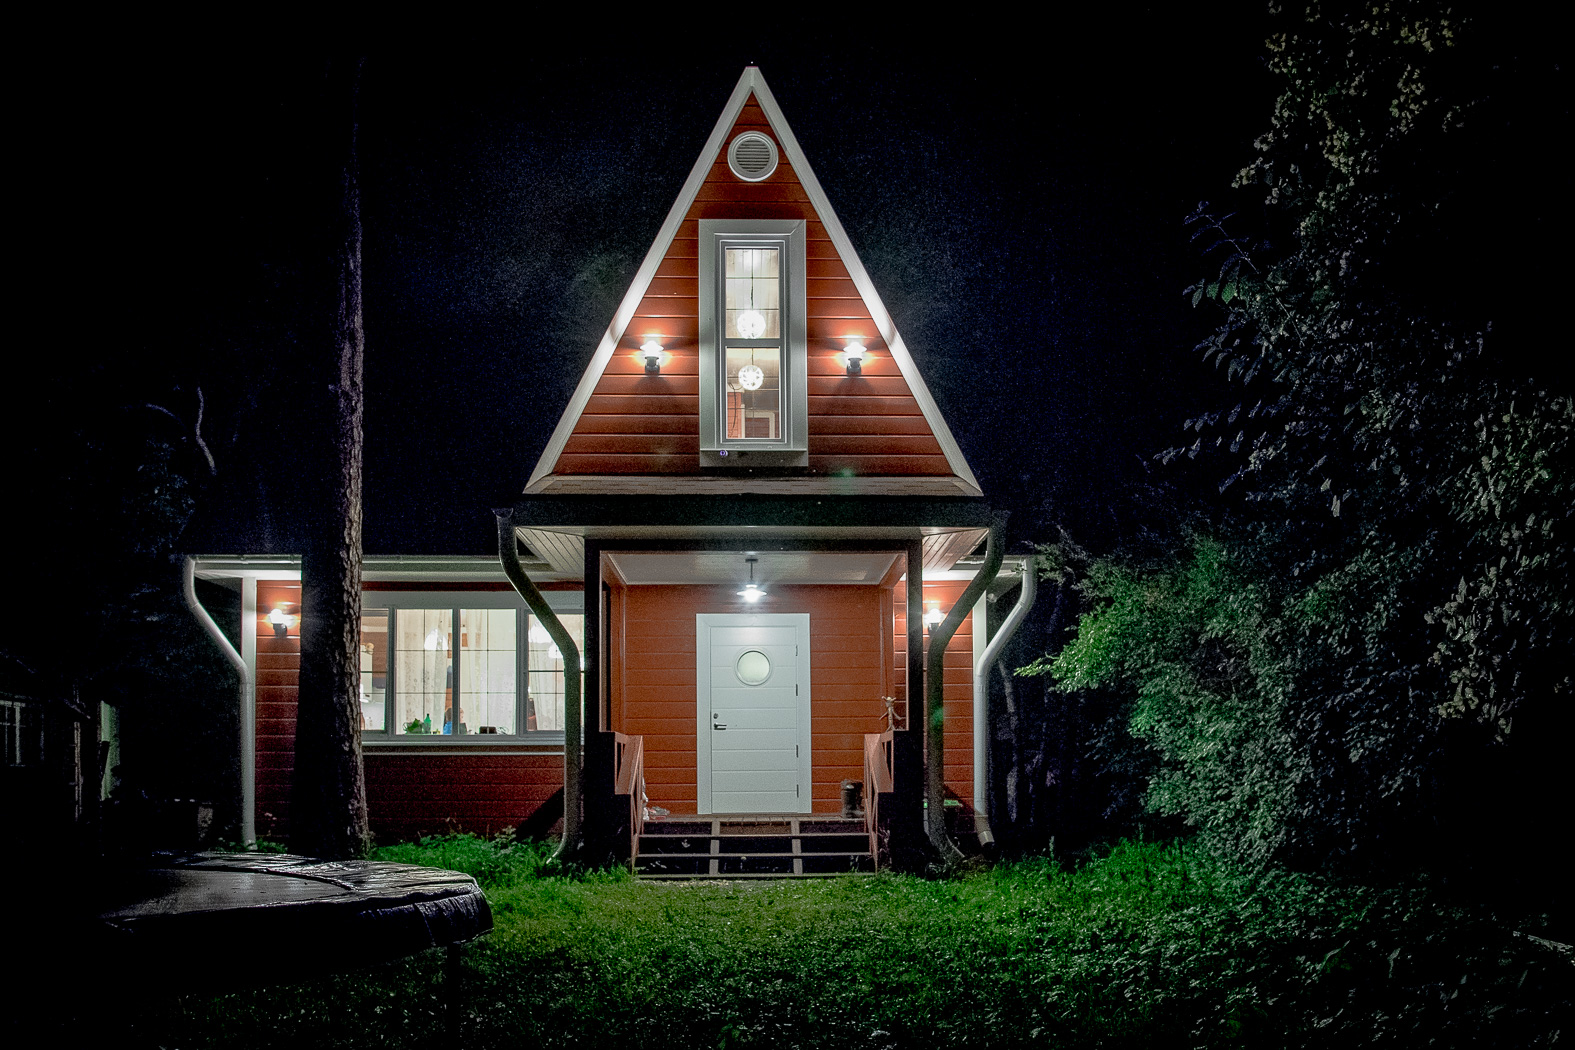
When my wife and I began to build a new cottage instead of the old one (where the electrician was laid by many generations and was a terrible jumble of wires and wiring boxes), we first of all decided that the electrician would be competent, and the country house would be smart.
A note from the Wiren Board marketer: the author of the article is a previously ordinary Wiren Board user, and now an engineer in our team. He automated his own dacha before joining our team. All text is written by the author, except for the notes at the end.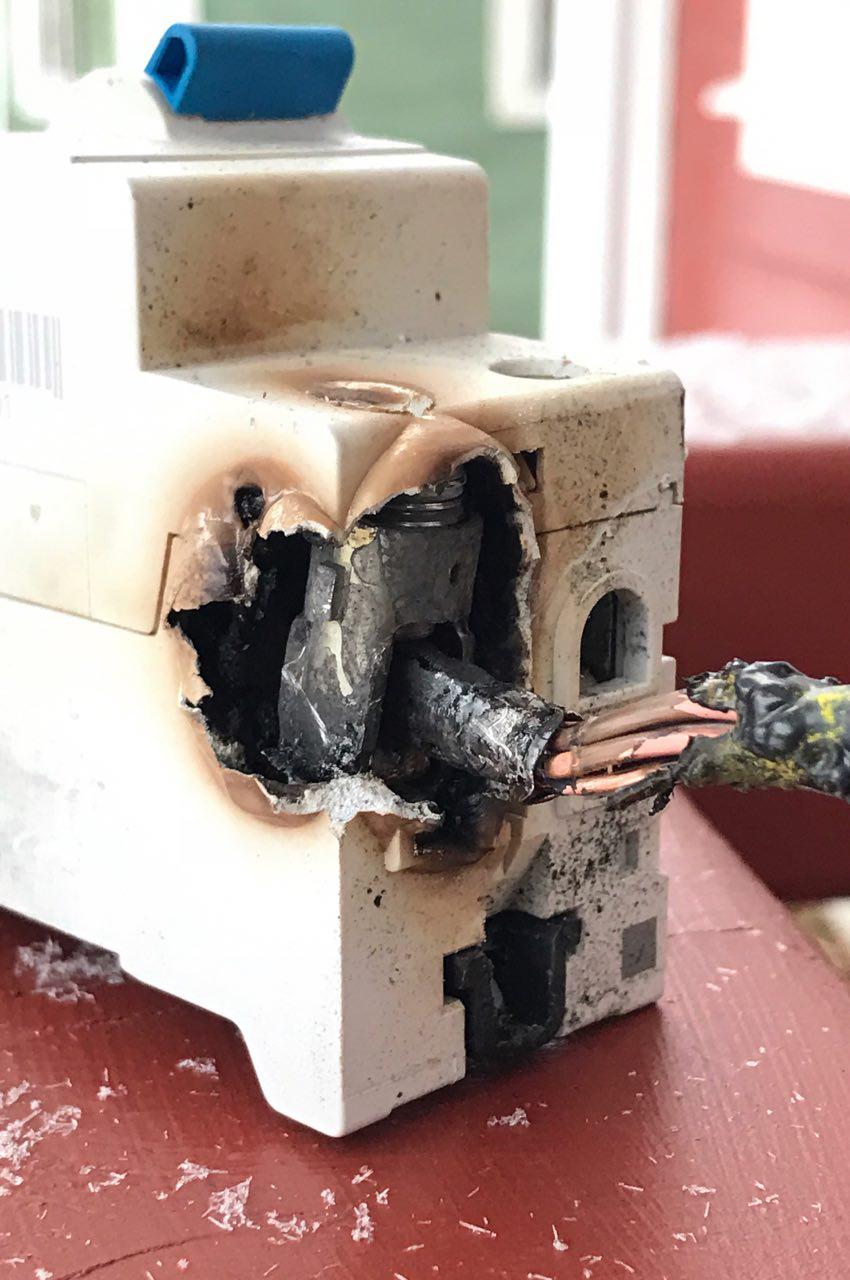 In the photo on the right: contact science - practical implications.
The first guinea pig became the hozblok. Upon completion of its electrification, it became approximately clear how much work was waiting in a residential building, how to lay cables, how to solve other problems. All but one - automation.
I spent a lot of winter evenings
preparing the cart, choosing the system on which the entire management of the future “smart cottage” will be based. I looked at Siemens, at Aries, at Raspberry, but eventually settled on the Wiren Board. Is there Linux on it? For a real “single” it’s just a balm for the soul!
The first training instance was Wiren Board version 4. There were many problems with it, and its programming was not as obvious as it seemed at first. But all the pitfalls were studied thoroughly, each moray sitting in the crevices was named, and by the time the 5th version appeared, I was sure that the controller would cope with my tasks.
What I wanted: first, as much as possible to automate all the processes that in the old house had to be done manually - for example, water supply to the house from the well, which we share with our neighbors. Secondly, automatically manage the climate. Thirdly, to control the house remotely and be able to monitor everything and everyone. Fourth, make the lighting comfortable and really smart.
I also wanted an uninterrupted power supply, reliable grounding and human Internet.
Cable laying
Smart home means hundreds of meters of cables coming out of the switchboard and diverging in all the most remote places.
The house is wooden (frame), and the installation of harnesses of even fifteen to twenty cables in such a house is a real problem. When hidden wiring in ceilings and walls, cables can be laid only in thick-walled metal pipes. And if several dozens of them leave the shield? And if somewhere something does not contact? And if you need to lay another couple of unspecified cables?
In short, it was decided to use cable channels. After consulting, my wife and I chose a Legrand DLP 80 mm with Mosaic installation products. Sneaking suspicions that the cottage will be a bit like an office, but they did not materialize. DLP channels look very aesthetically pleasing, it is convenient to install them, it is convenient to lay cables in them, and most importantly, it is convenient to lay many cables in them!
 Cable channel Legrand DLP with installed outlets, switches and cable output series Mosaic
Shield selection
 ABB TwinLine cabinet with EDF profiles and complete EDF modules before connecting
Shields are not big. Especially if they are mounted automation of the whole house. And if you suddenly thought that the shield is too big, and your friends laugh: “Do you feed the entire dacha village ?!” - boldly take the shield one and a half times more! If you think that ten cables will be enough for you, lay five more. Ten outlets on the room - bust? Just as much just does not hurt. If for the second floor it is more convenient to mount a second shield, then so be it!
What was required for automation
Of course, the
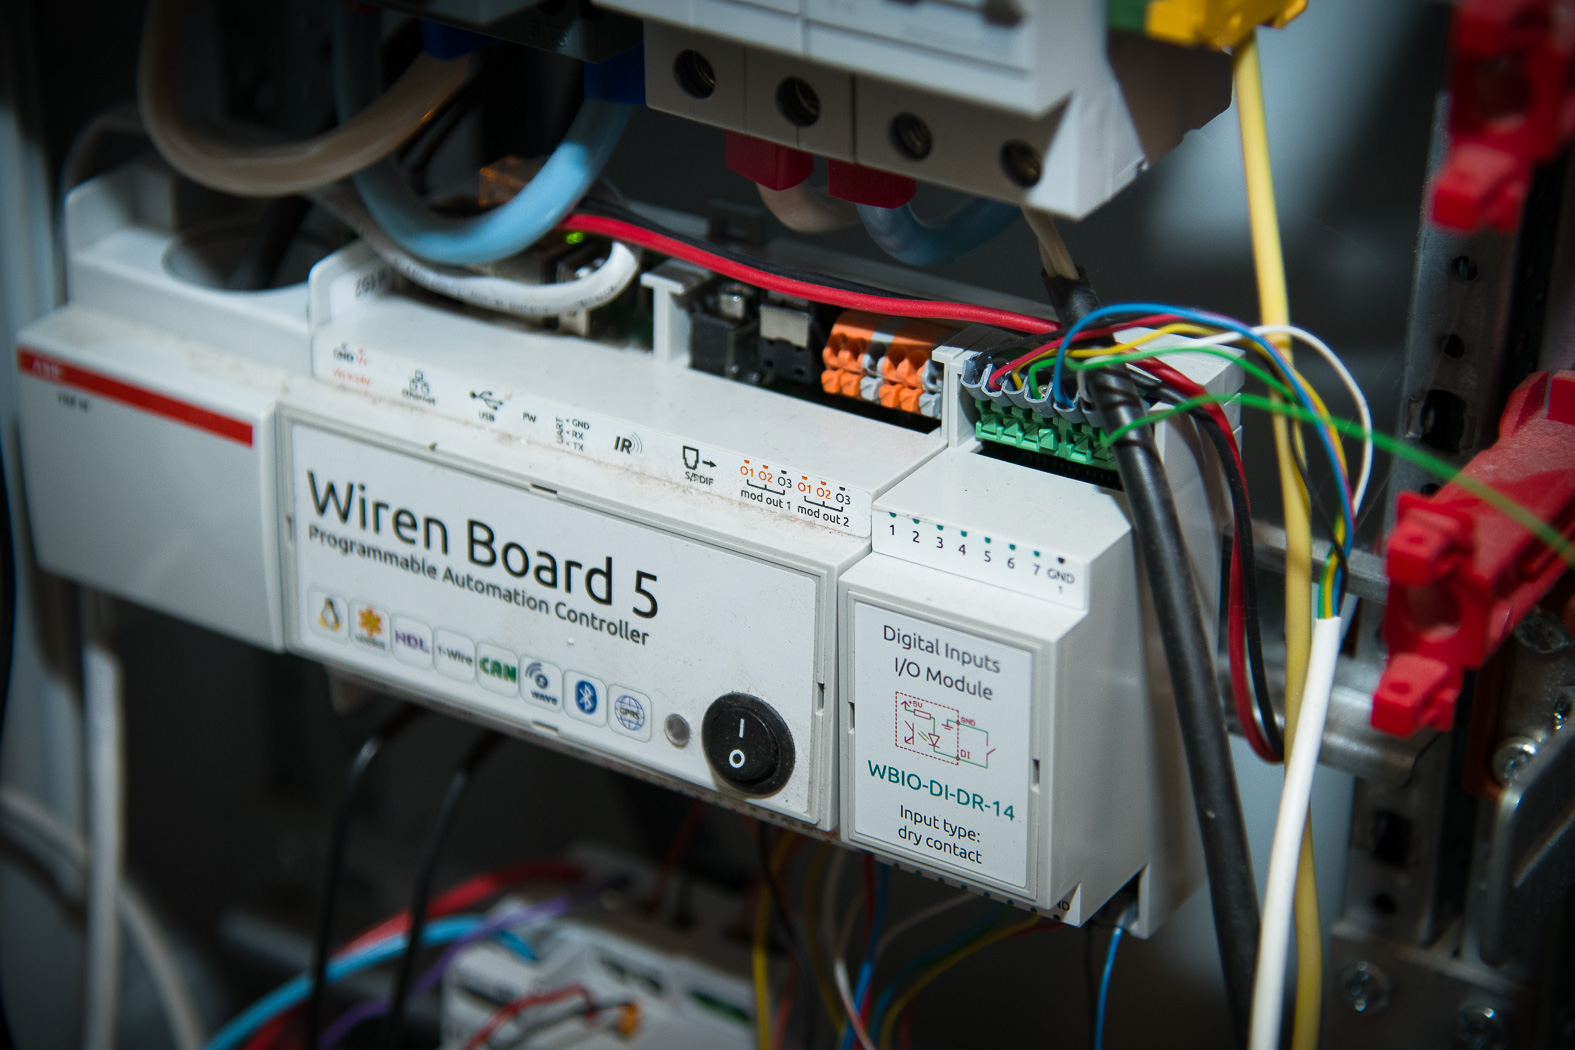
Wiren Board 5 controller
itself (see note 1 at the end) . The main actuators are relay modules with which the controller communicates via RS-485. The communication cable was chosen specialized, with thick conductors and a screen - Belden RS-232 / RS-485 2x2x28
(see note 2 at the end) , since it was to be laid in different places, including near the power cables. The screen is grounded in the switchboard, on the input I made the grounding of the TN-CS with a buried metal welded ground loop next to the house as a grounding conductor and re-grounding the incoming neutral in the input shield. Grounding resistance is measured with a special tester UNI-T UT521, which is bought on the occasion at a discount.
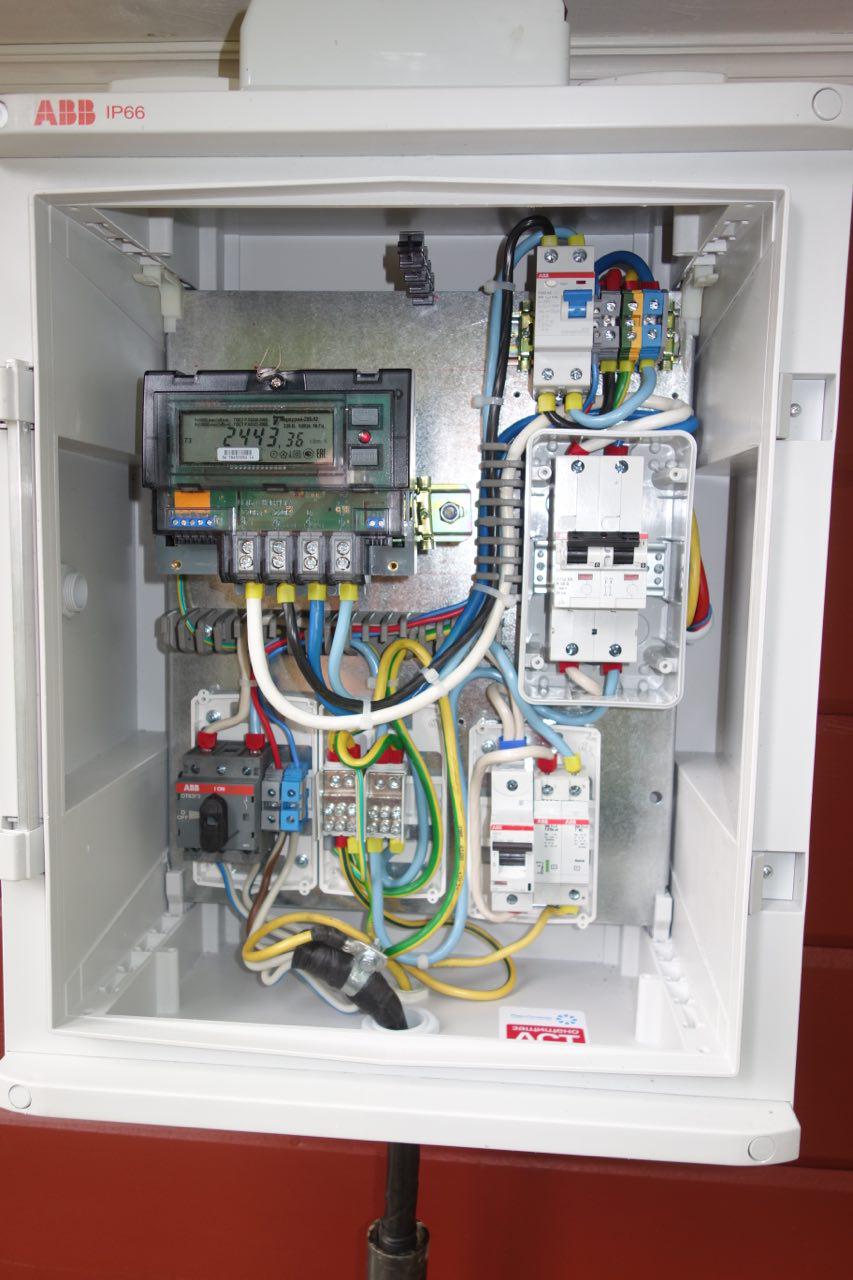 Introductory plate before sealing
Lighting
The switchboards used relay modules
WB-MR14 and WB-MR11 , powerful consumers connected via ABB modular contactors
(see note 3 at the end) .
 Relay modules and contactors
Through the relay WB-MR14 switch groups of two or three LED lamps from IKEA Ledare.
Connecting almost every light source to its entrance made it possible to realize the wildest desires. Together with the
WB-MD2 dimmers, the lighting becomes quite clever. Through the rules engine, I implemented an astronomical relay - the spotlight on the pole at the entrance turns on when twilight sets in. Lamps in the same room can be switched on separately, with the necessary brightness. Programmed “escort light” (accompanying light mode, the function “we all leave”): outdoor and garden lighting in the evening goes out after some time after all inhabitants leave the cottage - you can close, check, close and check again :)
Instead of the usual switches, buttons without latching are installed everywhere in the house: they provide more options, allowing you to process a long press: for example, the same button is used to turn on the accompanying backlight, which turns on the light on the porch of the house, but when pressed, the accompanying light . This is done by the following rule with two timers (one determines a long press, the second one turns off the light):
rule for “escort light” (function “we all leave”)var fronton_timer_1_timeout_ms = 2000;
var fronton_timer_1_id = null;
var fronton_timer_2_timeout_ms = 60000;
var fronton_timer_2_id = null;
var lightmode = 0;
defineRule("frontonButtonPressed", {
whenChanged: "wb-mr14_143/Input 13",
then: function(newValue, devName, cellName) {
if (newValue) {
log("The fronton button is on")
if (dev["wb-mr14_143"]["K13"] == false) {
fronton_timer_1_id = setTimeout(function() {
log("fronton timer 1 complete");
lightmode = 1;
dev["wb-mr14_143"]["K13"] = true;
dev["wb-mr14_143"]["K14"] = true;
dev["wb-mr14_141"]["K8"] = true;
},
fronton_timer_1_timeout_ms);
fronton_timer_2_id = setTimeout(function() {
dev["wb-mr14_143"]["K13"] = false;
dev["wb-mr14_141"]["K8"] = false;
dev["wb-mr14_143"]["K14"] = false;
log("fronton timer 2 complete");
}, fronton_timer_2_timeout_ms)
};
};
}
});
RS-485 — 9600 / — “ , ”. 115200 /, RS-485. — . , , .
 — MAP 200 * 12
. ( , , , ), . 4G SMS . 4G Mikrotik RB750UP ( ). SMS-, , Wiren Board GPRS gammu-smsd. , Perl (, Linux!). , (, “pingpong text” “text”, “reboot” , “relay 21 K2 on” ). , , .
: VPN, VPN — , - .
 4G-. Mikrotik RB750UP
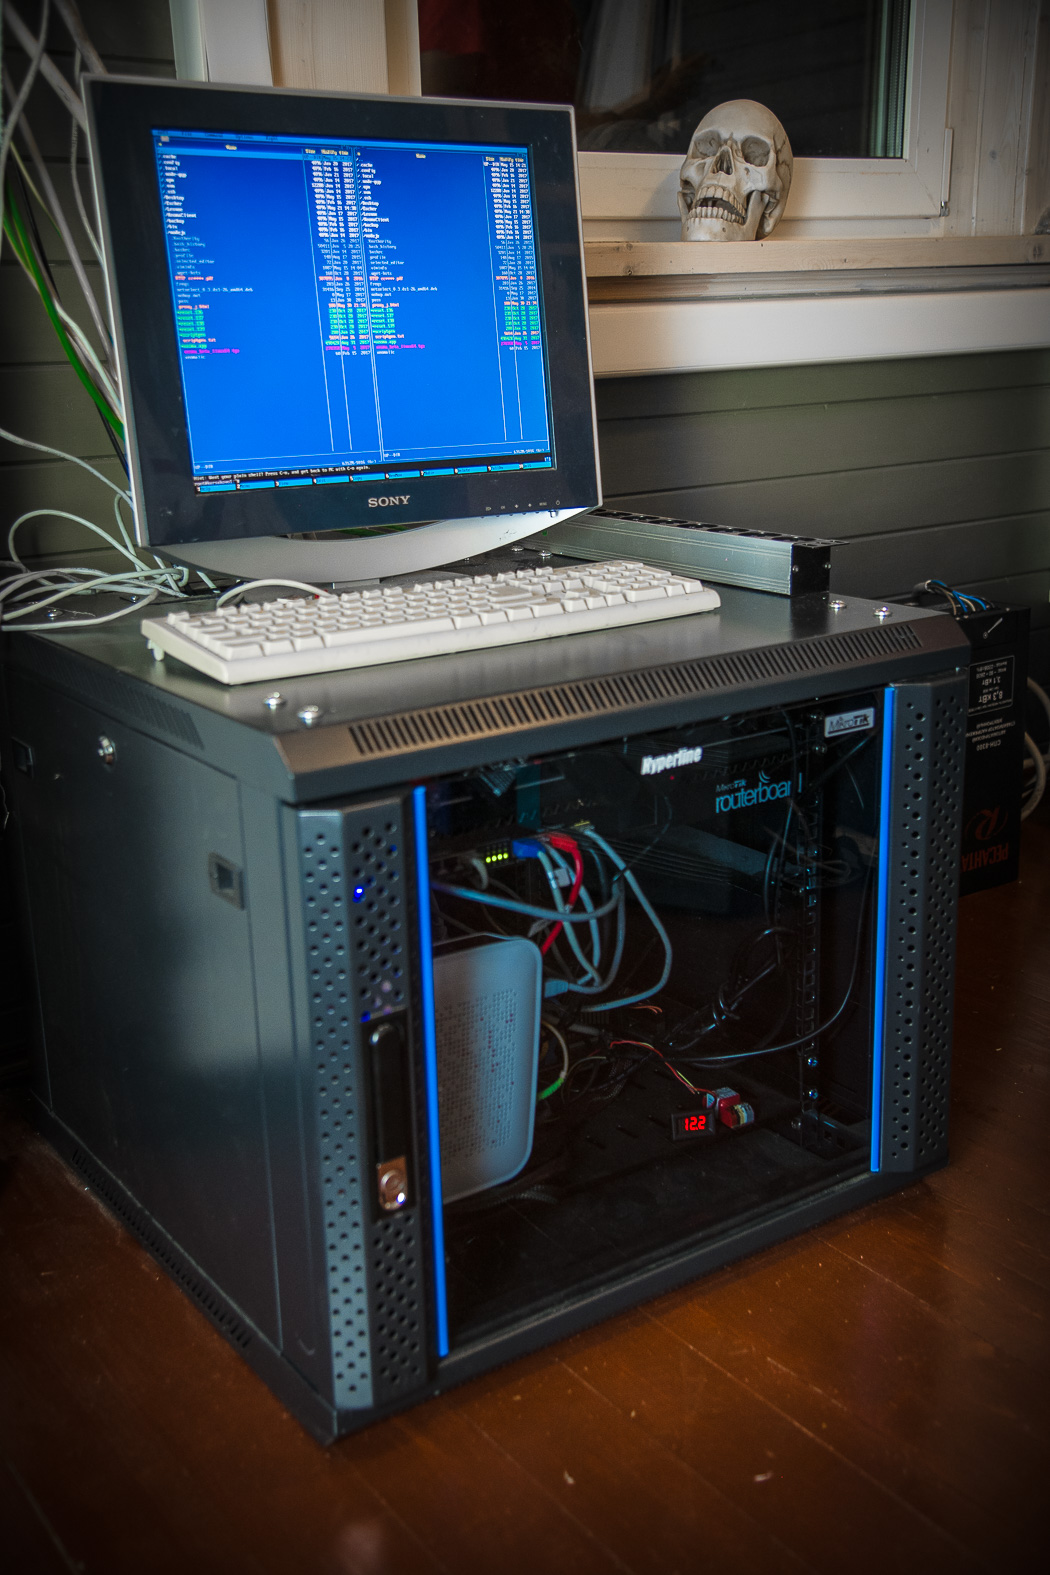 (Mikrotik RB2011UiAS + GPON)
, - , . , , .
 Noirot Spot
Noirot Wiren Board , 1-wire DS18B20,
WB-M1W2, (/ ). ,
WB-MS(TH).
 DS18B20 , -
 WB-MS ( RS-485, 120 )
. – , Devi. 23:00 7:00, . , . HVAC- Siemens Wiren Board Modbus.
 HVAC- Siemens RDF Modbus
, , . , .
( RS-485).
WB-MCM16. – ? . . ? , .
 ( )
( )Wiren Board ELKO HRH-5 . , , . – . , (- ) (- ) – , , . Wiren Board A1, .
– , ( :)) … WB-MCM16.
AEG ( + ), – , ! , , - VPN.
.
WBIO-DI-DR-14 (, - ). .
 -
-Wiren Board Telegram- ( - ?) ioBroker MQTT Raspberry Pi. Wiren Board 6, , “”. SMS ( SS7, : ?).
. .
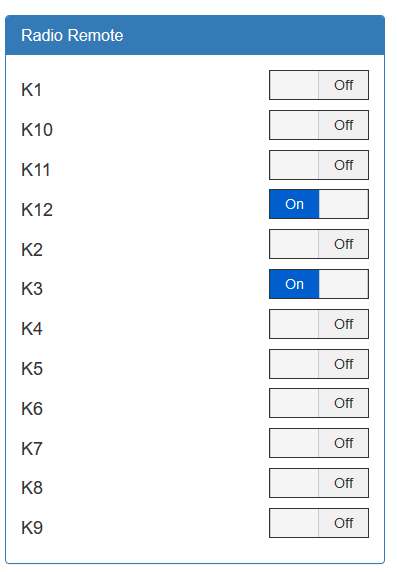
- WB-MIR. , , «» . , , , :)
- ( ) .
- ( WBIO-AI-DV-12).
- Xeoma.

- , , , Nice ( 4 ).
- , Wiren Board ( ) DS18B20. , , .
- . , -- - . SDM220, Modbus. WB-MAP12 ( , ).

!
- Wiren Board 6 — , .
- Belden RS-232/RS-485 2x2x28 220,35, 30 / .
- — WB-MR6 ( 16 , 800 (!) S) — .
- : — - , Bluetooth ( Wiren Board 5 6 Bluetooth).
.