Hello everyone, with the company
3Dtool .
Today a rather interesting thing from Shining 3D came into our hands, namely the 3D Shining 3D AutoScan-DS-EX 3D scanner.
And, especially for you, we decided to make it unpacking.
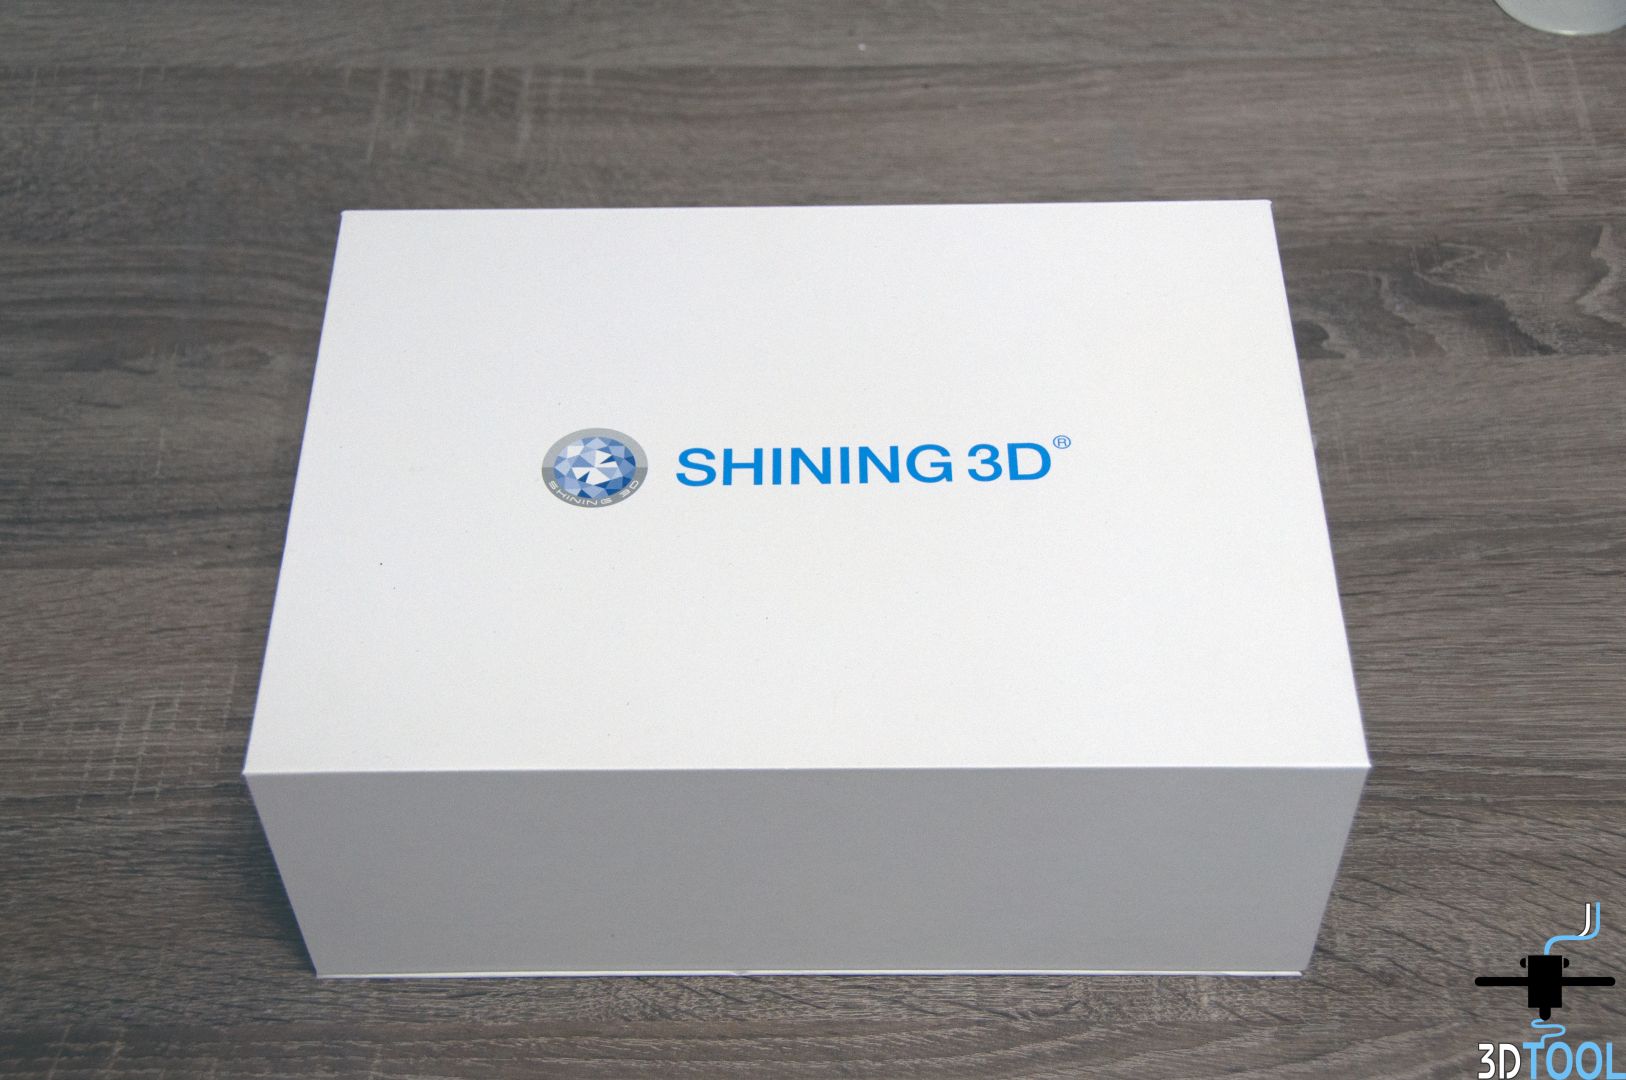
The scanner comes in such a box, it is quite thick and durable, which allows you not to damage the scanner during transportation.
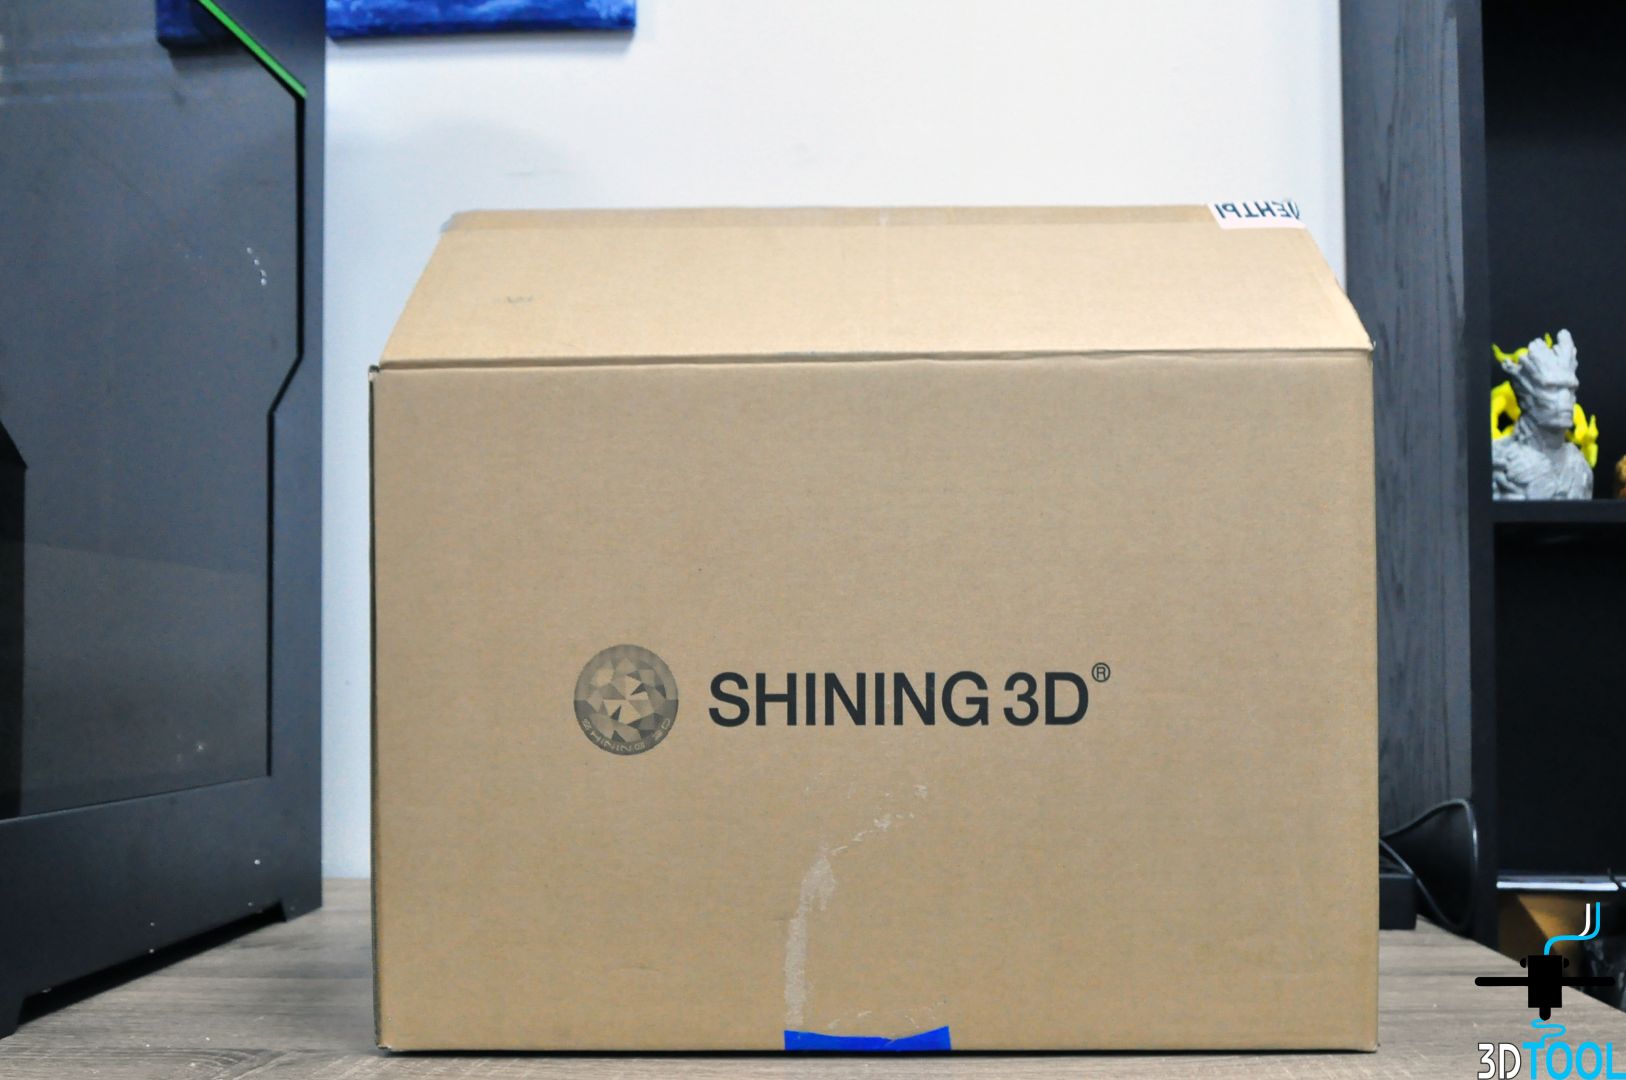
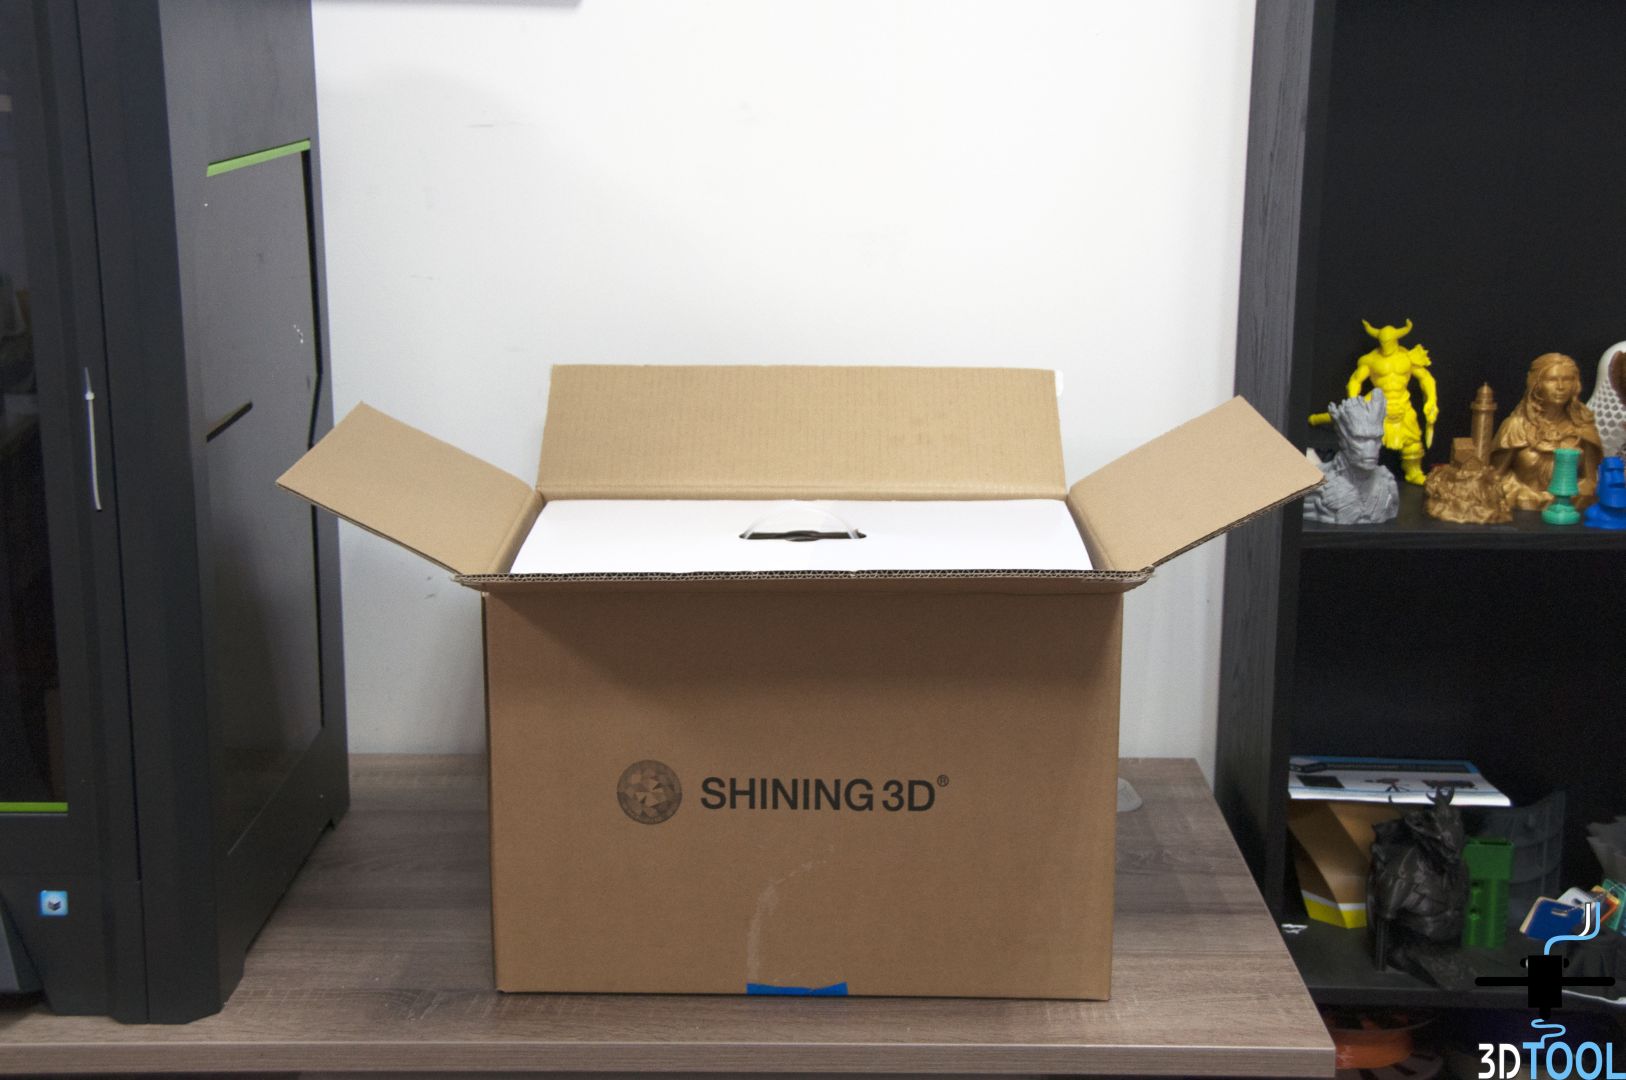
Inside the box is another box, but with the corporate style of Shining 3D.
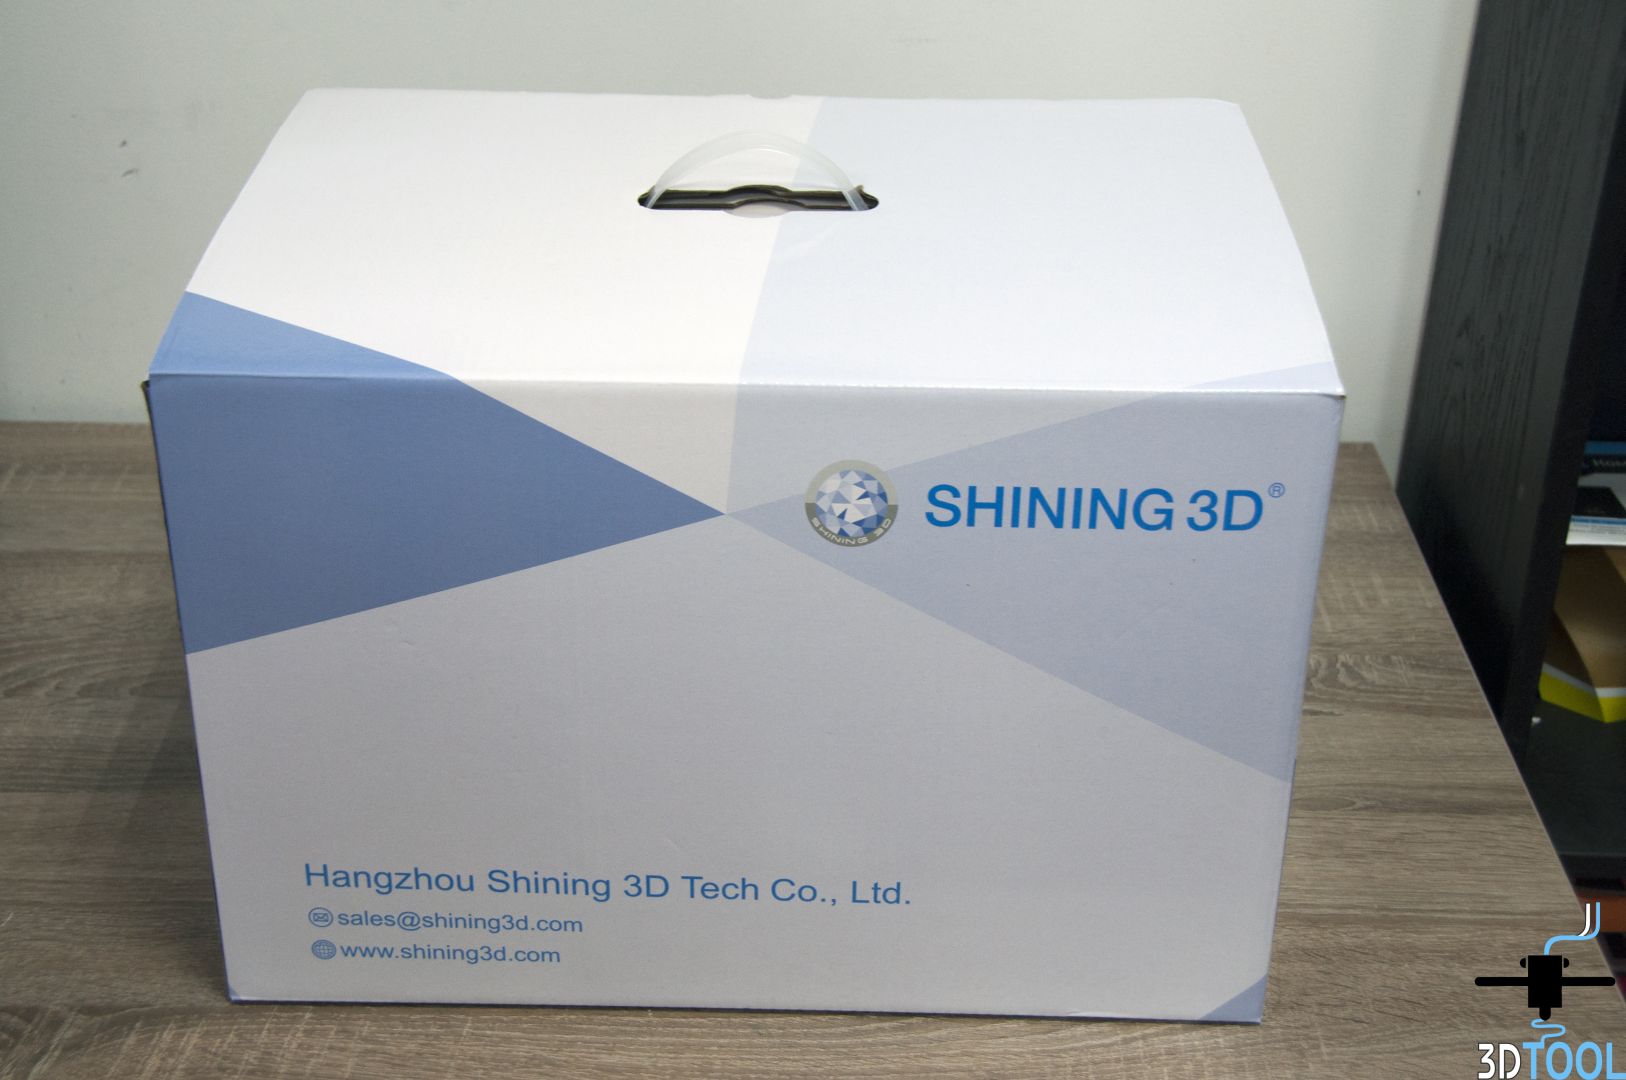
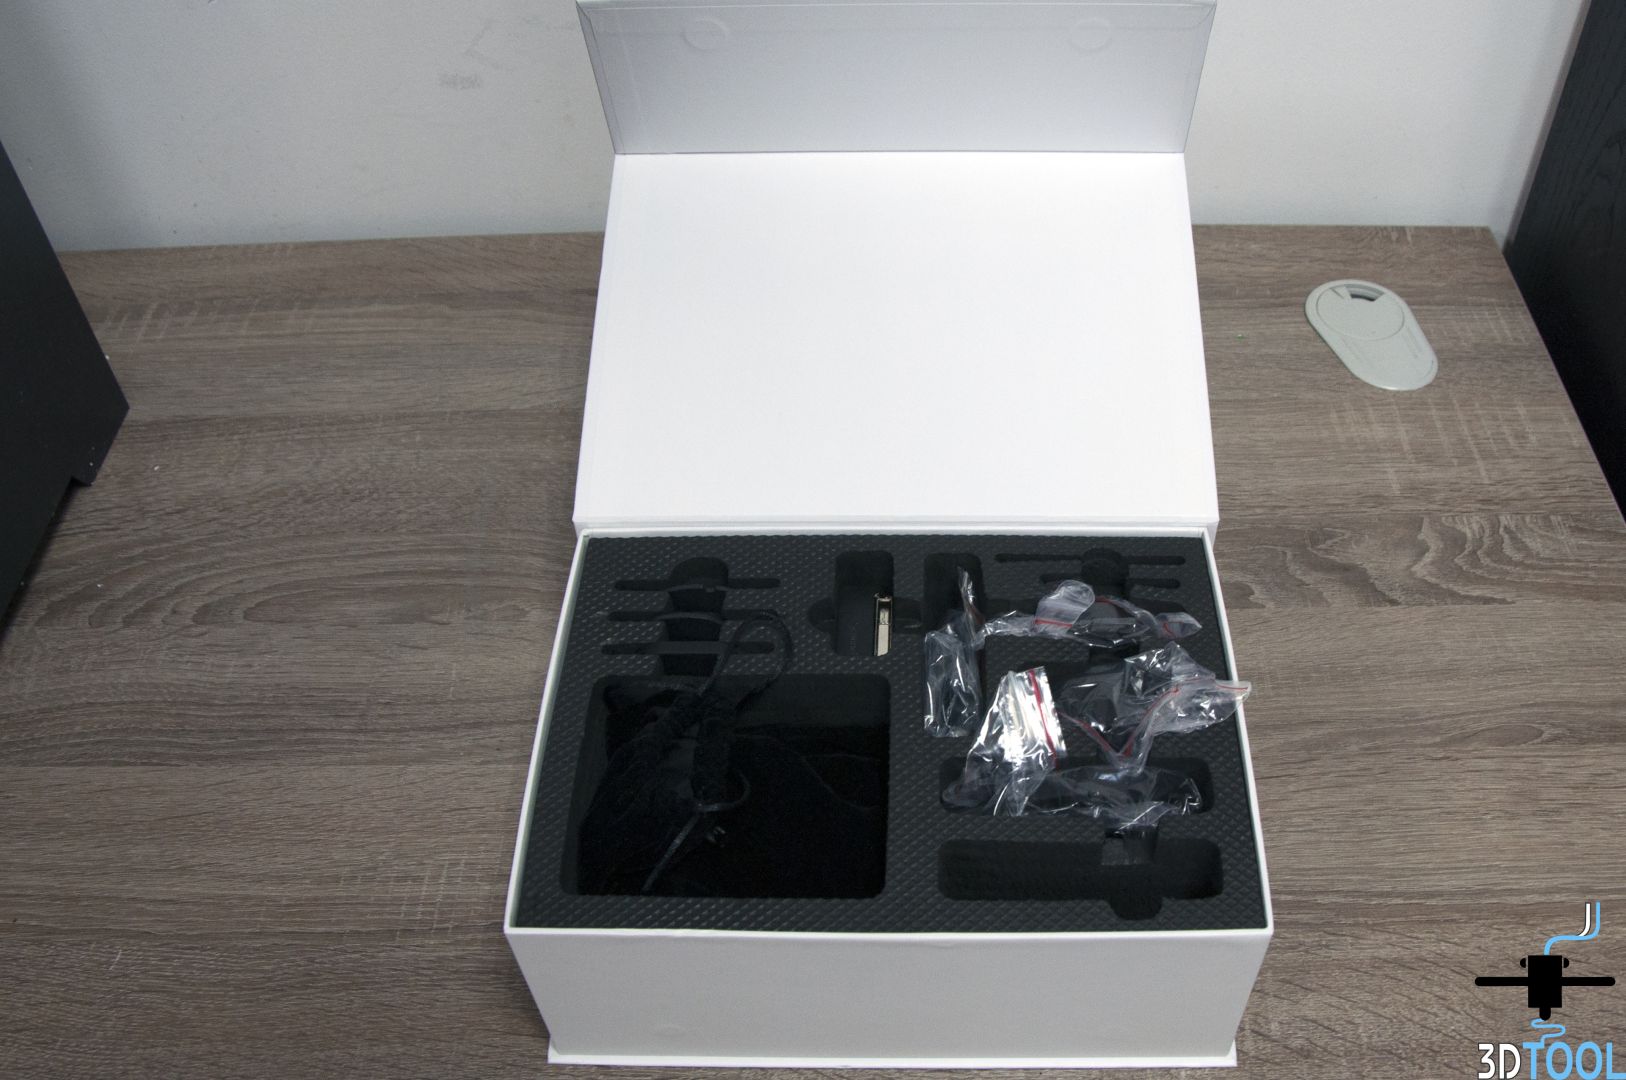
Open it and see the packaging of black polystyrene foam, the top is equipped with:
- Certificate
- Adhesive compound for attaching various Blu-Tack items
- Sheet with a complete set
- Articulator stand
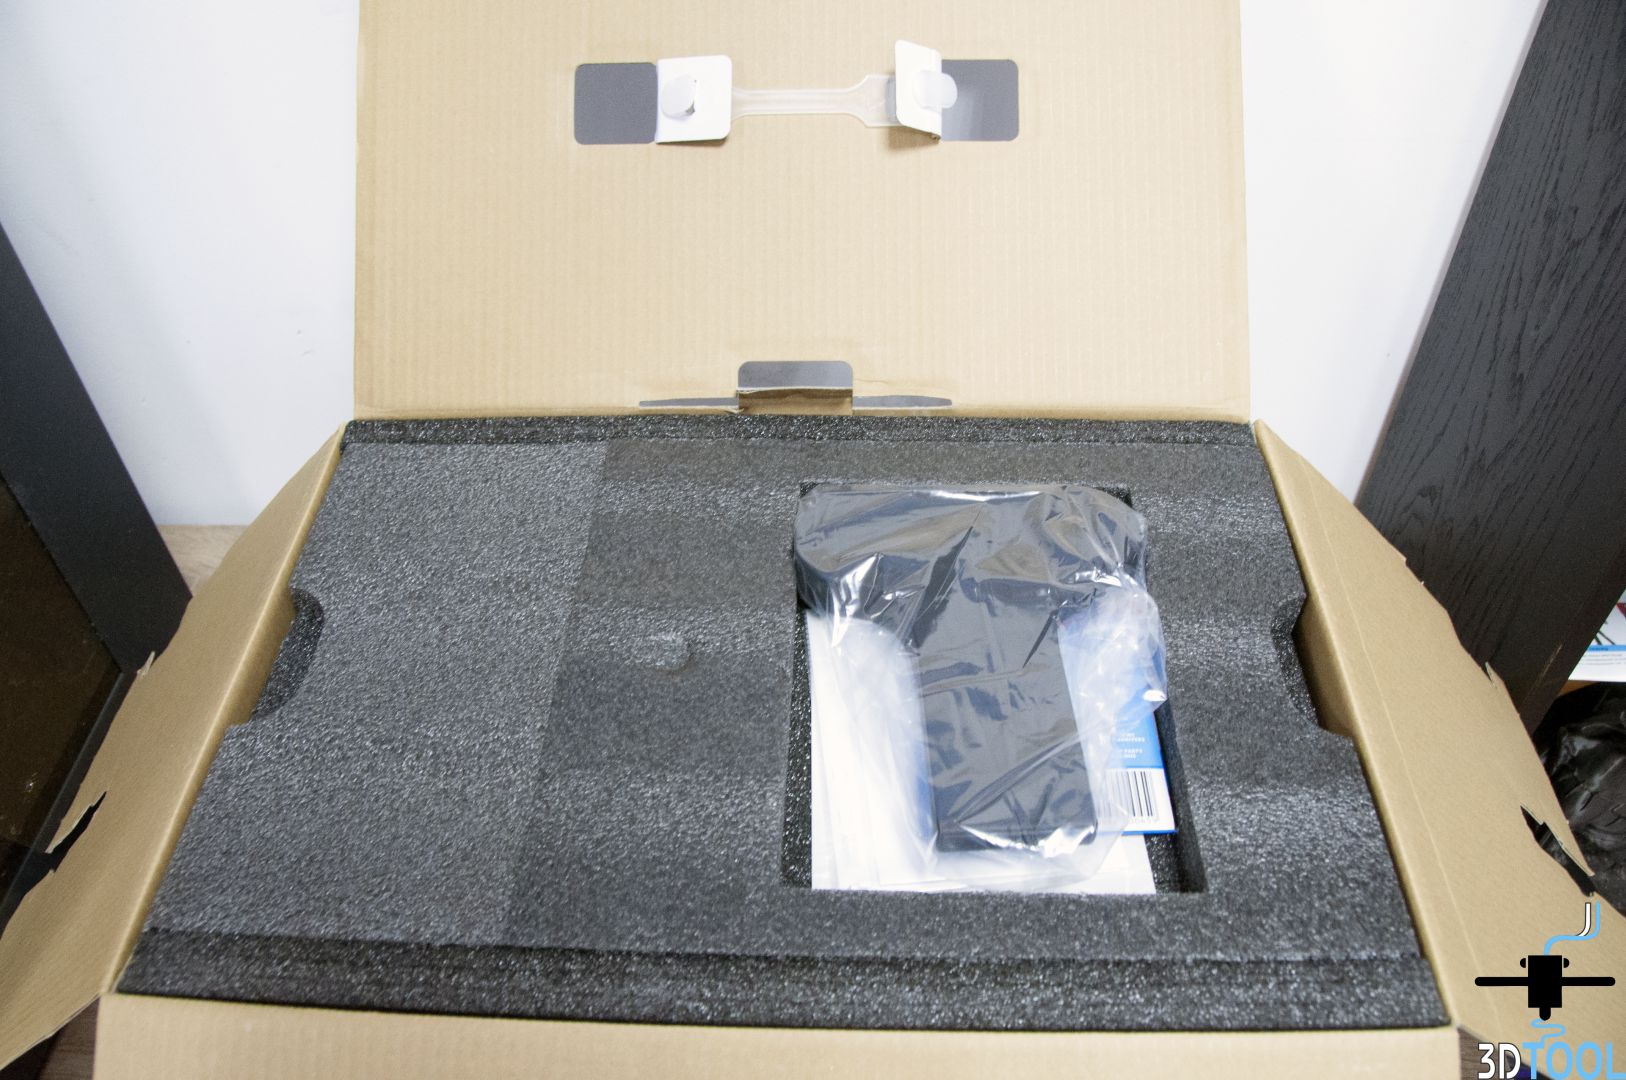


Raise the top polystyrene and see the scanner and box. What lies in this box, we will show further, but for now we will get a scanner and consider it in more detail.

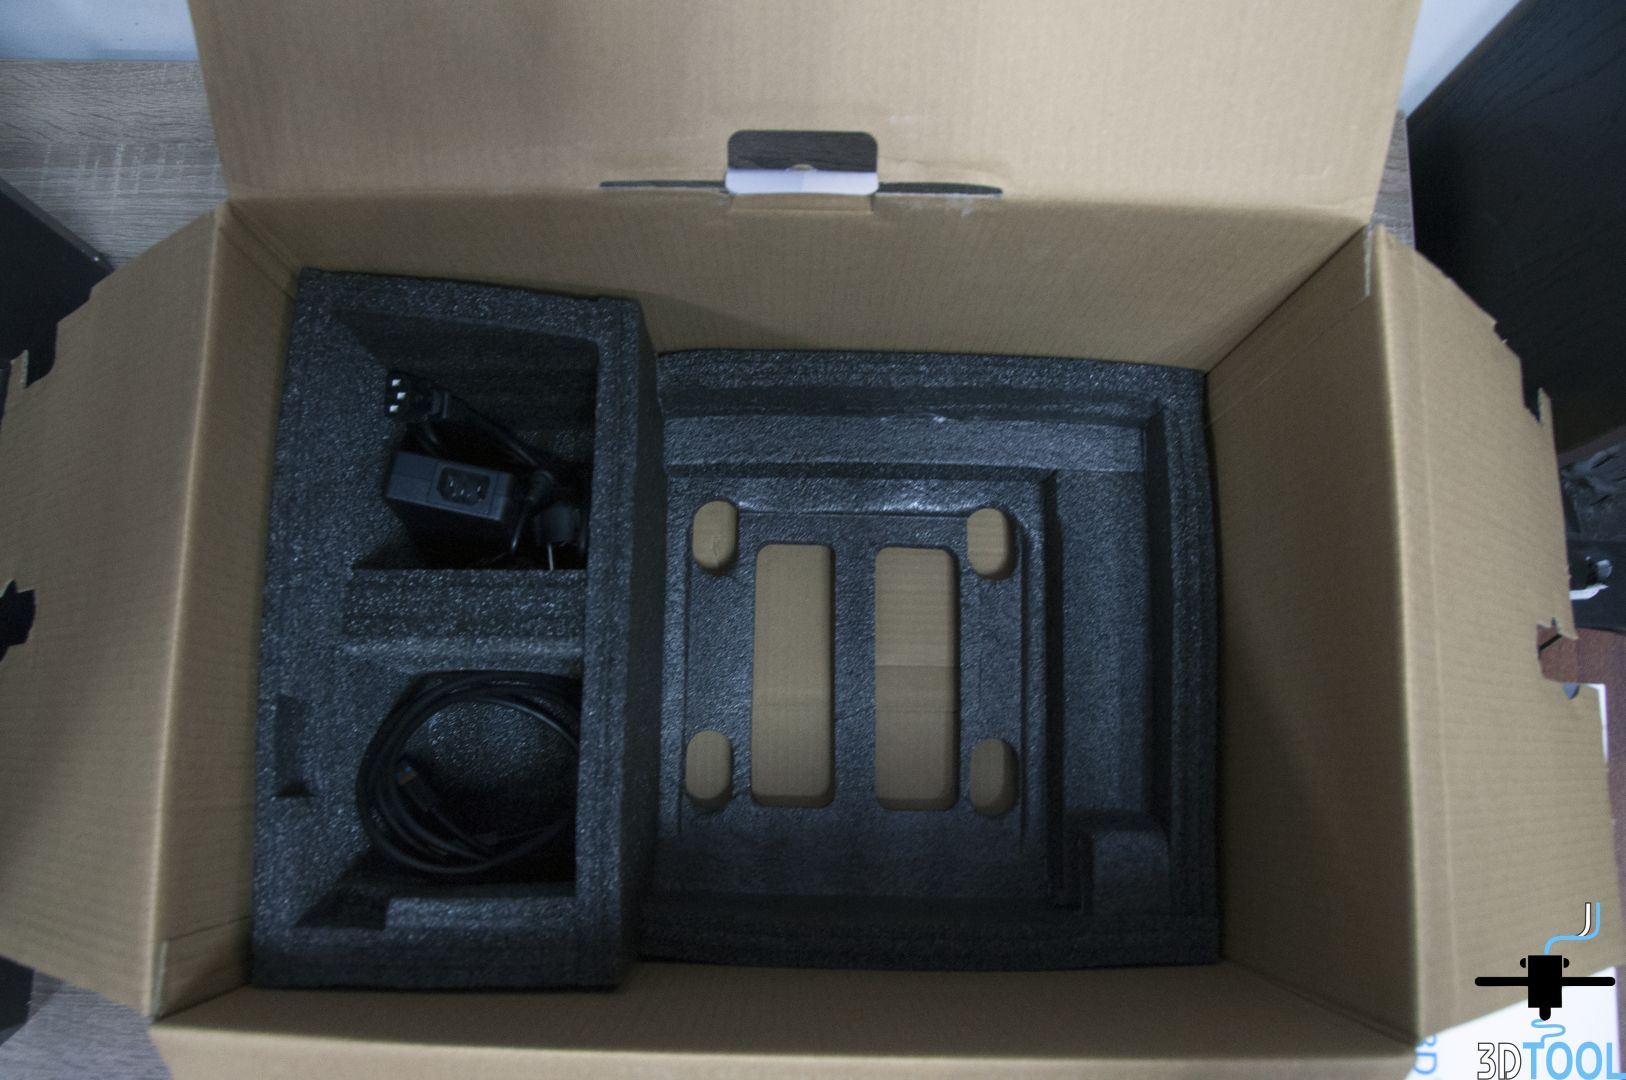
Under the scanner in a special pocket are the power wires and connections to the PC.


The first thing I want to say about this scanner is that it is designed for the dental industry, has unsurpassed compactness and low weight - the perfect combination for close service bureaus and dental laboratories.
The scanner itself is packed in a thick bag.

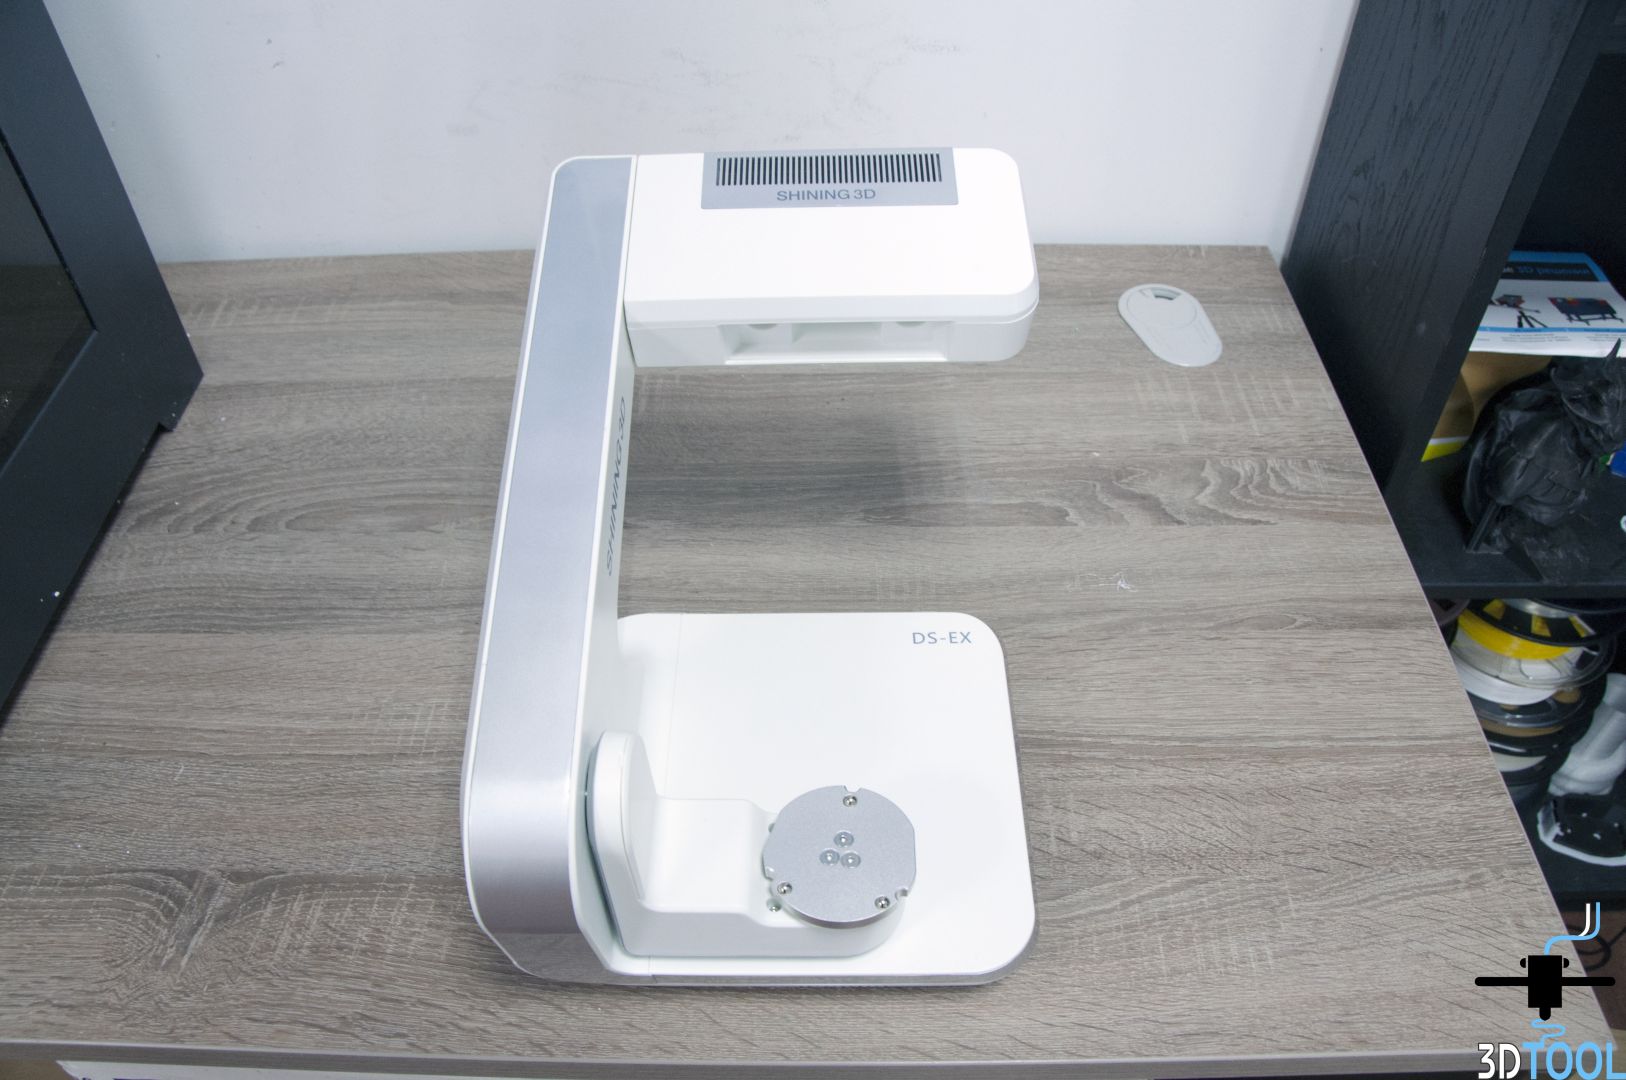
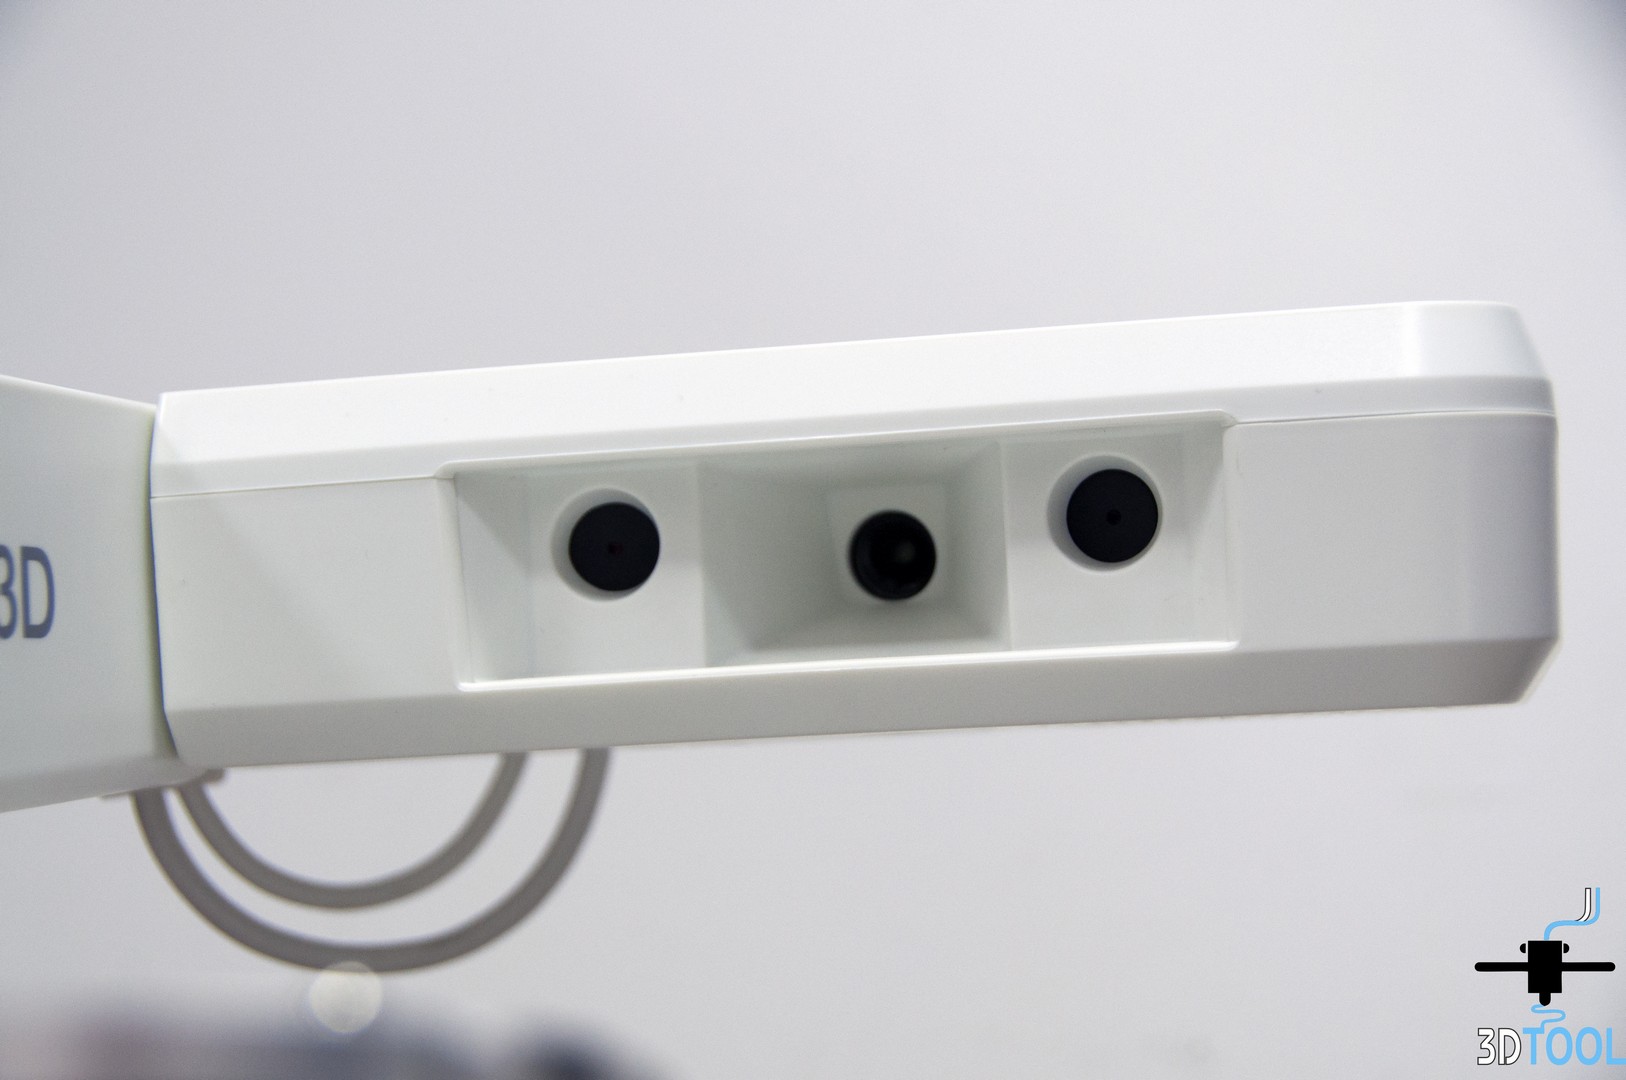
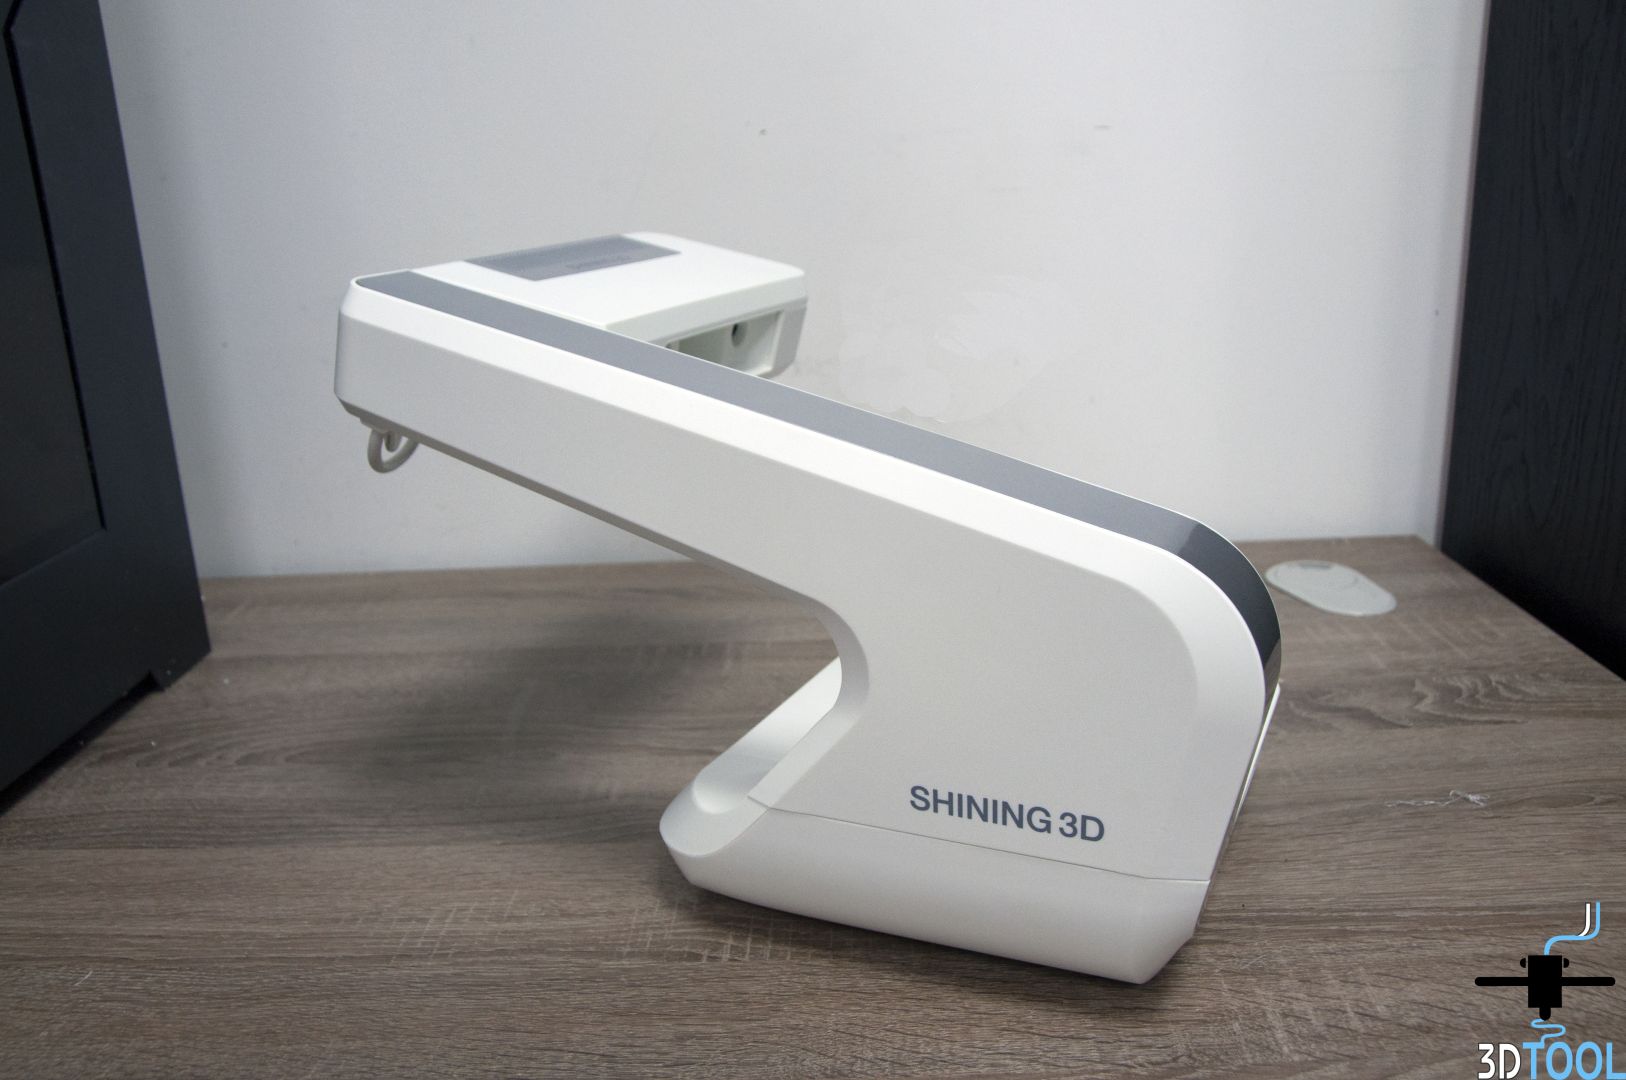
The scanner is completely white with the Shining 3D logo on the inside and outside, looks very stylish.
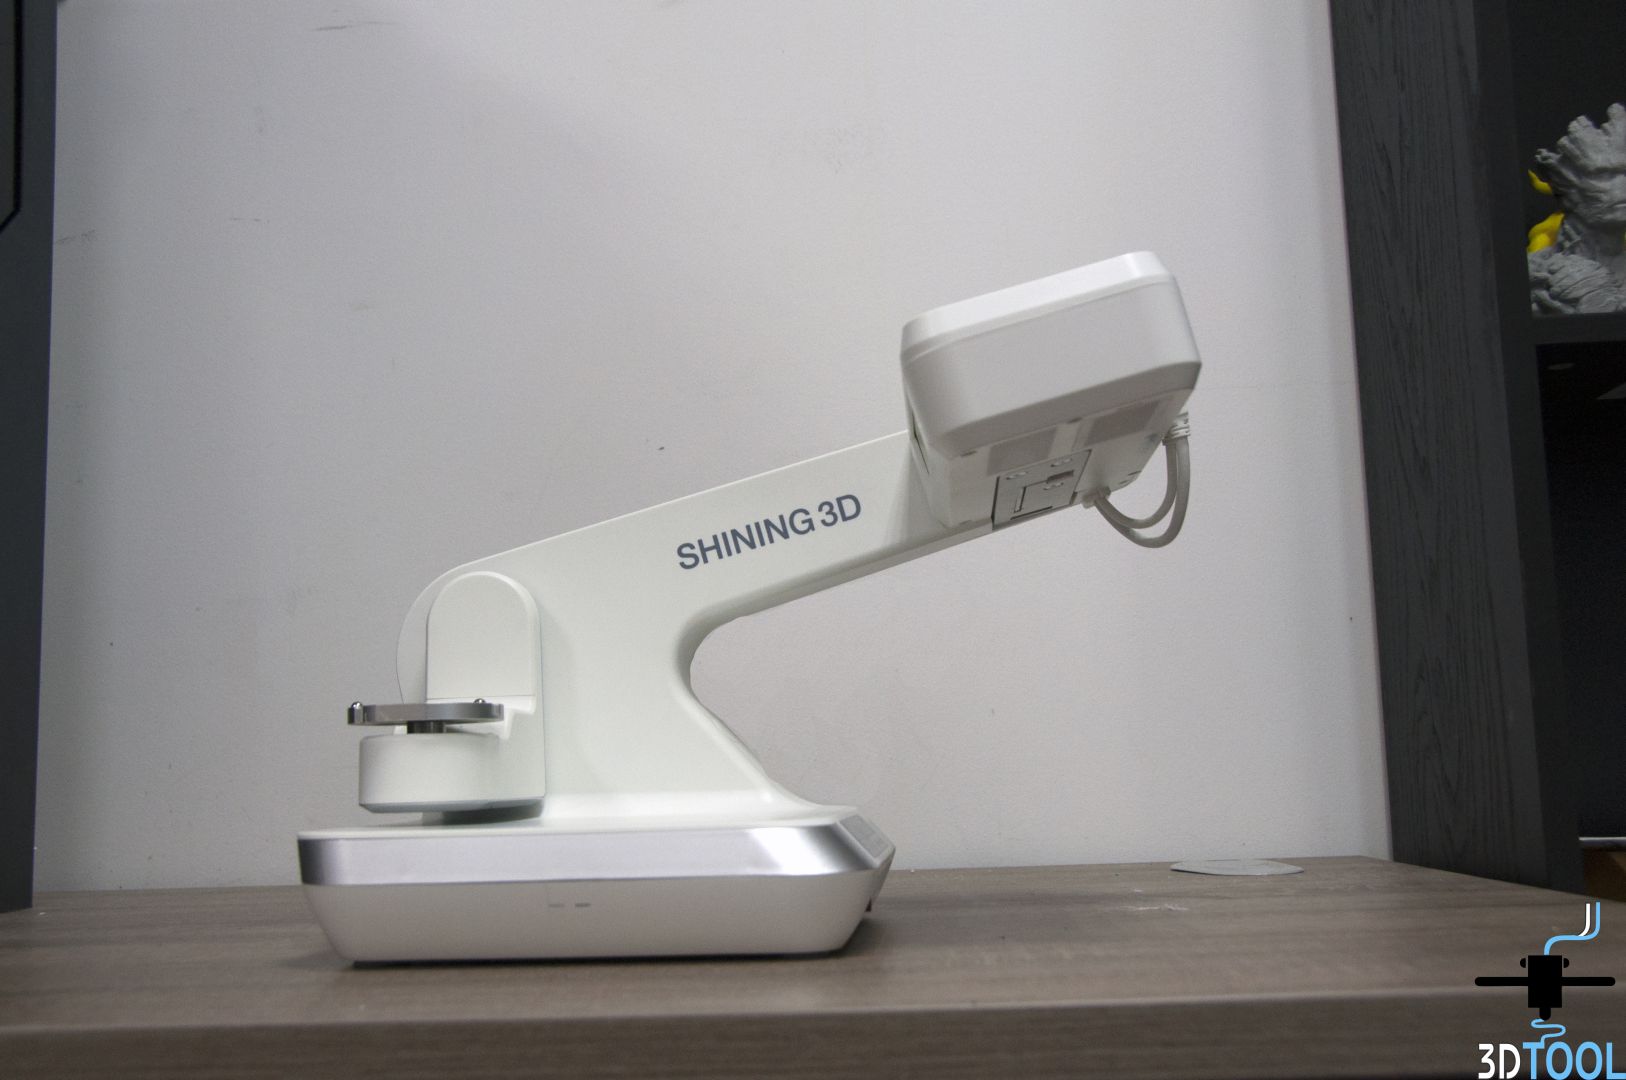
The scanner supports all sorts of functions, including scanning in the articulator, triple scanning (top, bottom and tooth imprint), as well as digitizing textures.
We offer you to get acquainted with its technical characteristics:
· Scanning technology: structured backlighting
· Resolution: 1.3 megapixels
· Accuracy: <15 microns
· Area of capture: 10010075 mm
· Scanning time: 18 seconds per bite, 42 seconds above and below, 90 seconds per print
· Operating temperature range: from 10 ° C to 30 ° C (higher temperatures may adversely affect scan quality)
· Dimensions: 260270420 mm
· Weight: 5 kg
· File format: STL, OBJ
· Interface: USB3.0
· Power supply: AC 24 V
And now let's take a look at it from all sides.


The adjustment key is located at the bottom of the scanner, which is very convenient and saves time searching for it.

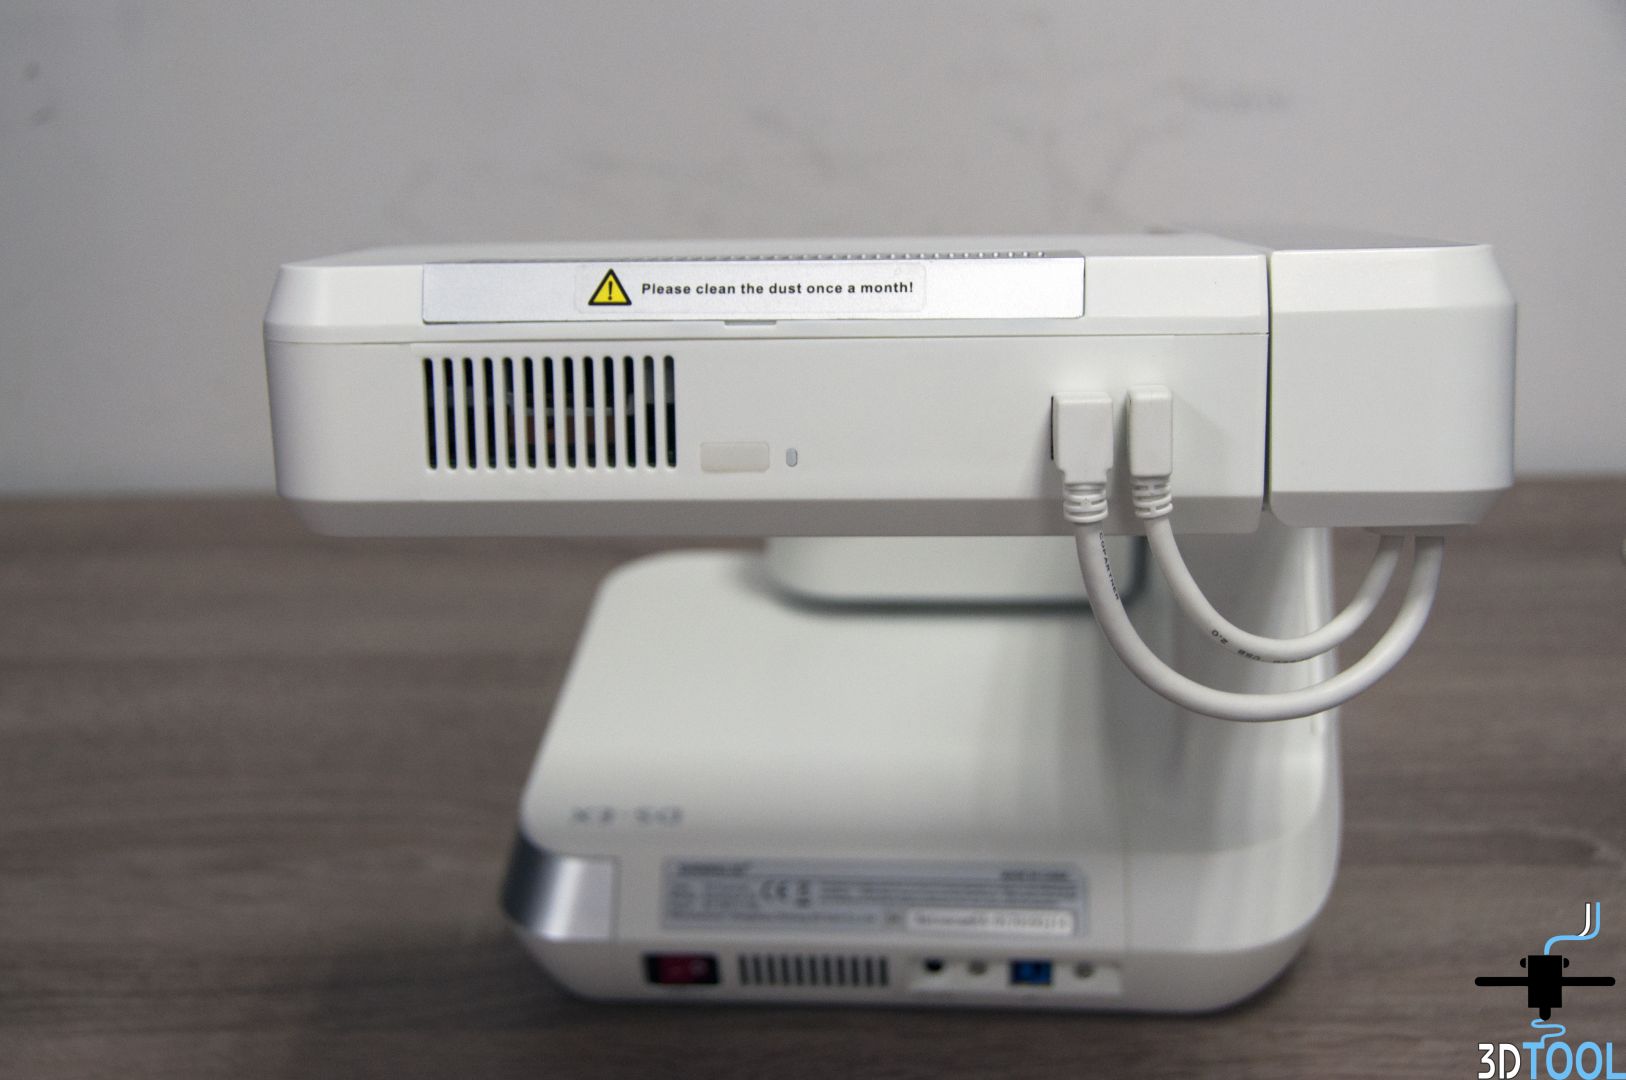
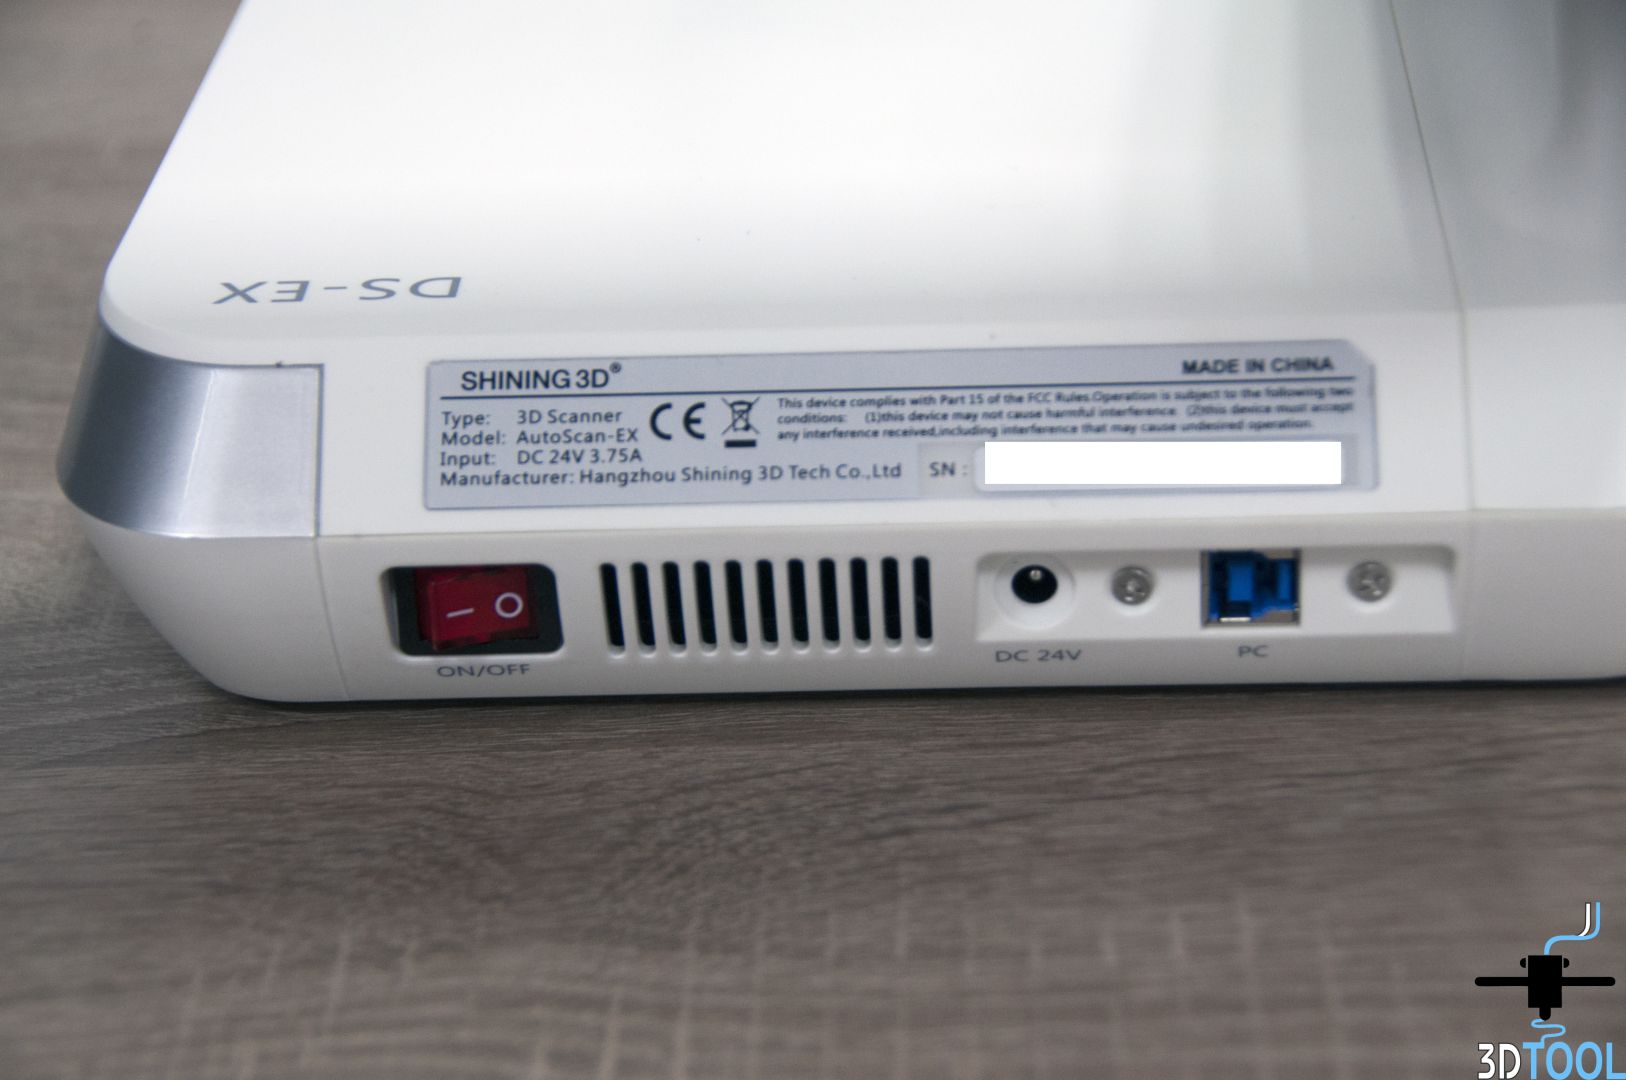
At the back of the scanner there are only 2 connectors, for connecting power and for connecting to a PC, as well as the power button.
Now let's look inside the box that was lying next to the scanner.

Inside is a calibration box packed in a separate bag.

Two USB flash drives

Clamp for fastening parts

And several options for fields to scan
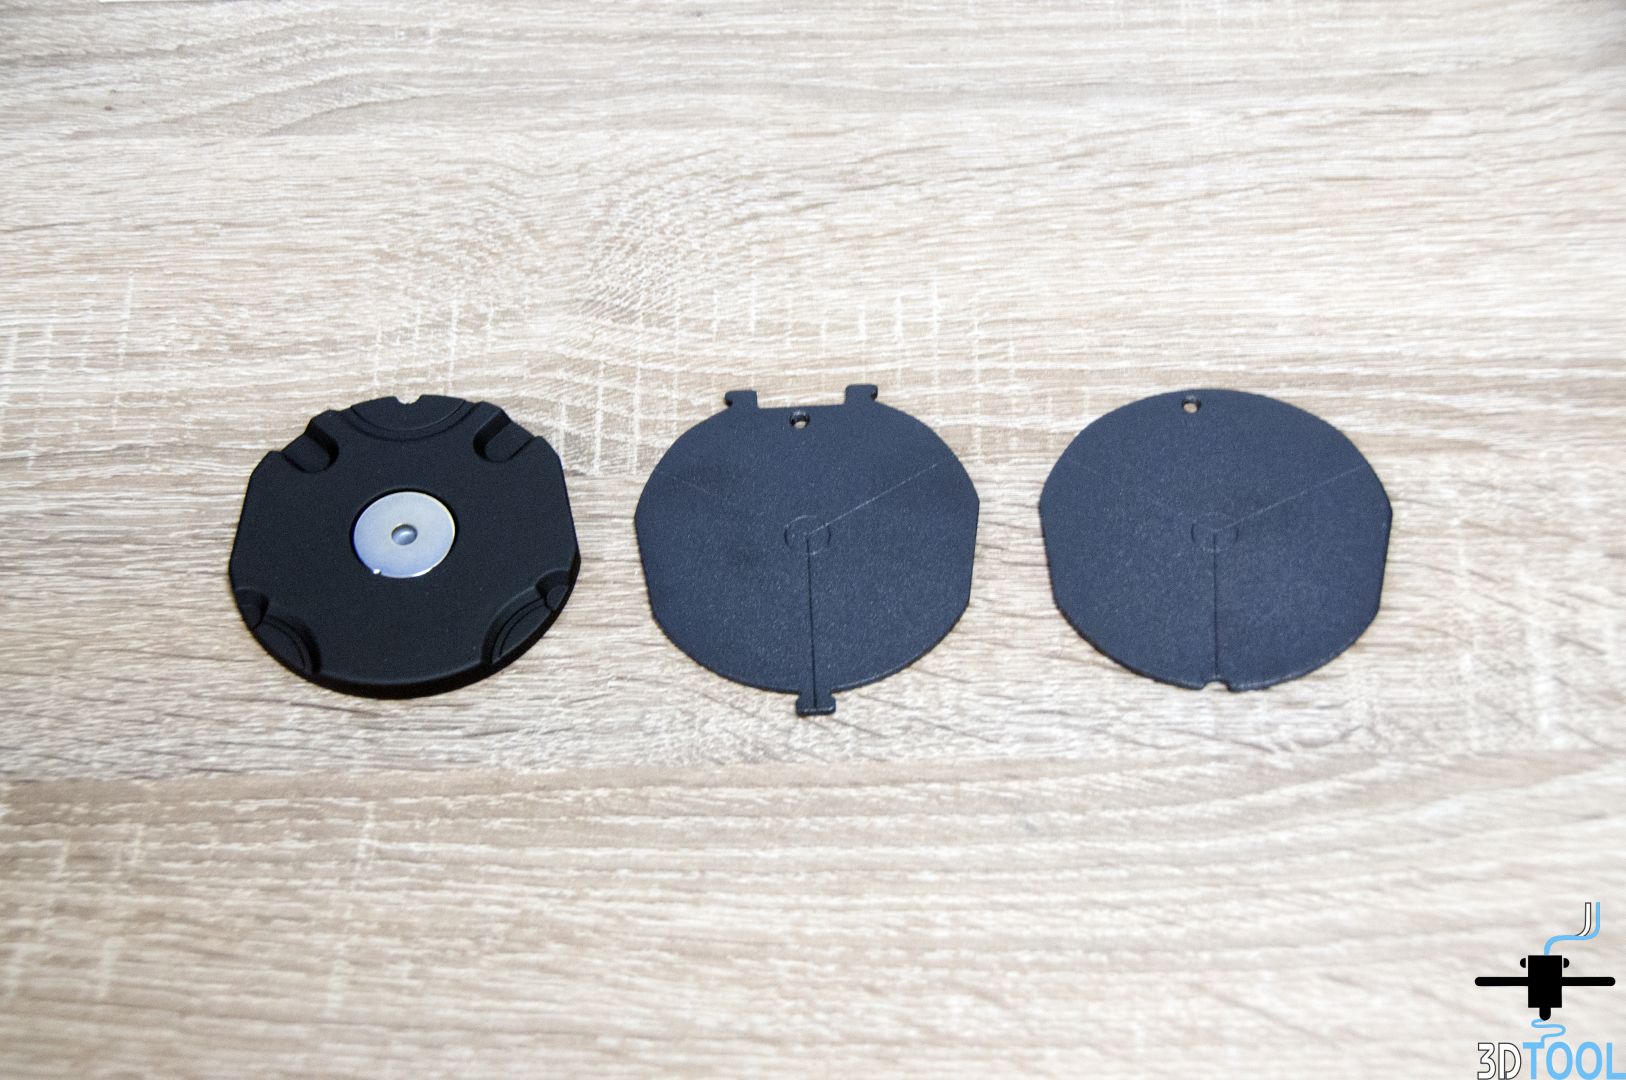
Here is such an interesting equipment for this scanner.
Link to scannerLink to 3D equipment for dentists