Part One: A small step-by-step instruction on the installation and initial setup of "Smart Home"
It so happened that life forced us to proceed with the partial automation of the apartment, especially in terms of its safety, taps, gas, electricity, electricity, and then everything else.
For myself, I defined the following criteria:
- The place is an apartment, where alteration (a significant alteration of something is not planned).
- The ability to integrate all solutions into a single open source data management system.
- The possibility of a gradual expansion (scaling) of the functional.
- If possible, the minimum cost.
- If possible, purchase elements of the system in the Republic of Belarus or in the Russian Federation, without any orders from foreign sites. Came, looked, bought.
- If possible, the Russian-language interface, documentation, support.
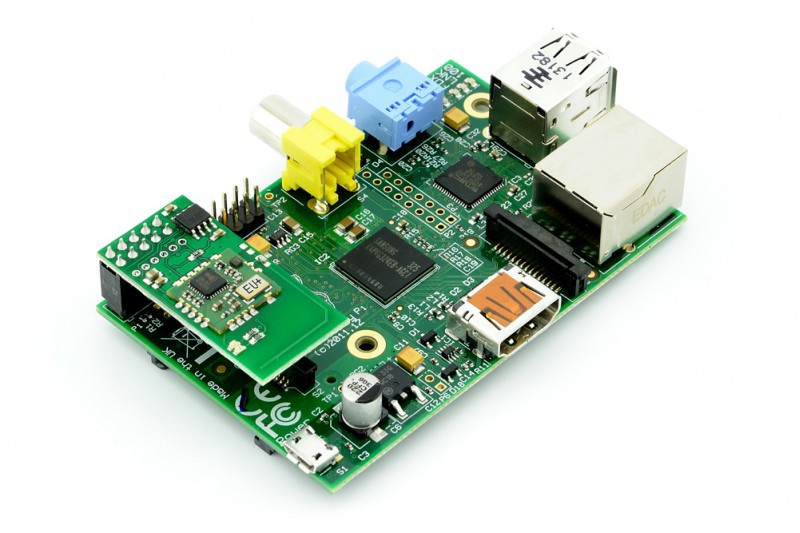
For myself, I defined the open Z-wave protocol, the heart of the system is the Raspberry PI unicameral computer (I was exactly the way it was) with a Razberry controller running on the Z-Wave + protocol. Software chose MajorDoMo. Both protocol and software satisfy my requirements.
As an assistant, I decided to attract my eldest son (a schoolboy, finished 8th grade). And I understand the existing documentation is quite difficult for a regular user who does not encounter configuration, configuration and programming.
So I decided to fill this gap a little.
About video surveillance previously wrote a short note:
Remote monitoring and surveillance of sick (elderly) people, based on the Xiaomi MiJia Mi Home Security 360 IP camera . I plan to test several more cameras.
Create bootable disk:
First of all, download the system image for further actions:
→
link to software developer page→
link to download imageTo create a bootable flash drive, I used the officially recommended program by the manufacturer Raspberry.
→
Raspberry websiteOn the official website of the developer
site loader program .

Immediately on the site is determined by the bit OS, and provides a link to download.
Also clearly shows 3 steps to burn the image.
1) Image selection
2) Disk selection
3) Burn
Install Etcher
And create a boot disk based on the image that was previously downloaded (after unpacking it).
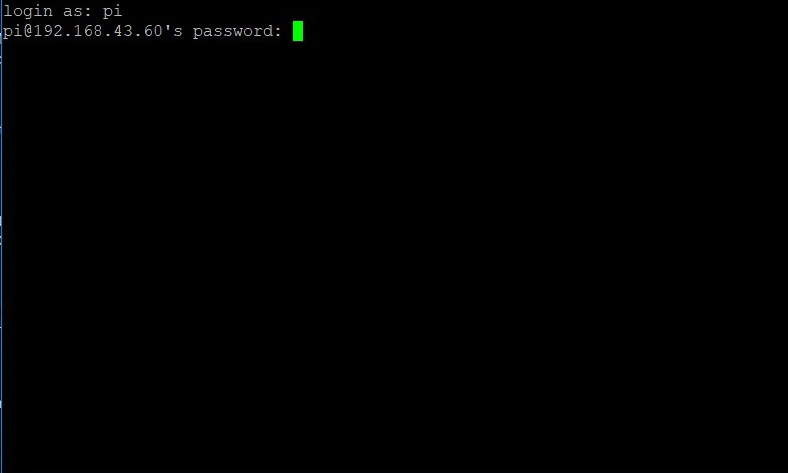
We connect the Raspberry Pi via an HDMI cable and connect the keyboard.
Turn on the Raspberry.
The system is loading, after which the login and password request.
We use the default:
login PI, password raspberrymj .
Password characters entered are not displayed
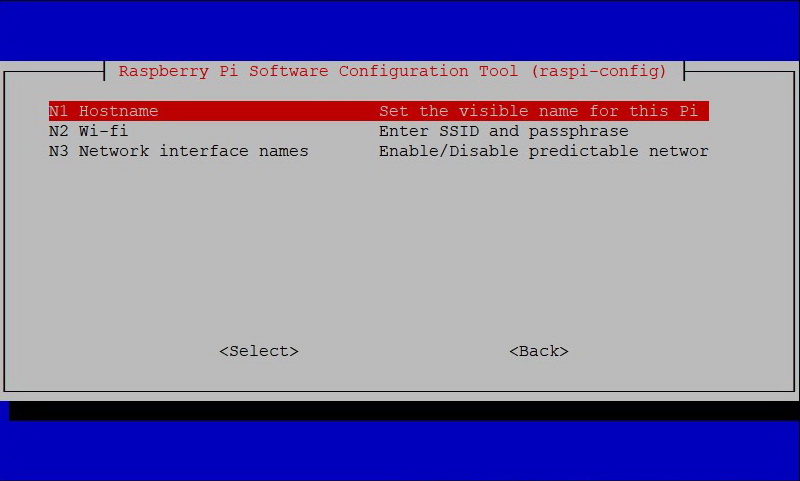
Run Raspberry Configuration Utility
sudo raspi-config
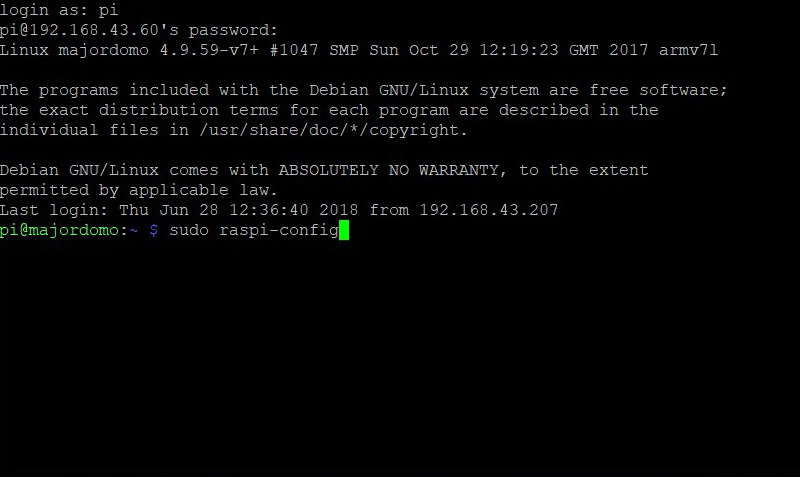
First of all, I changed the default password, I get tired of typing 11 characters
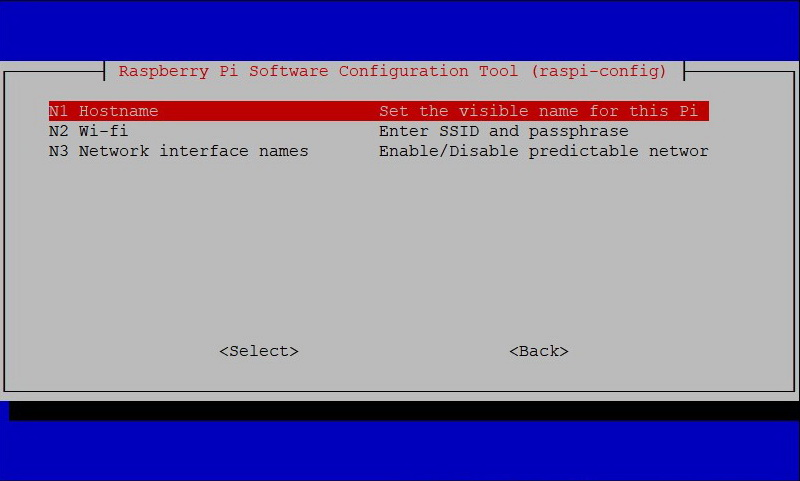
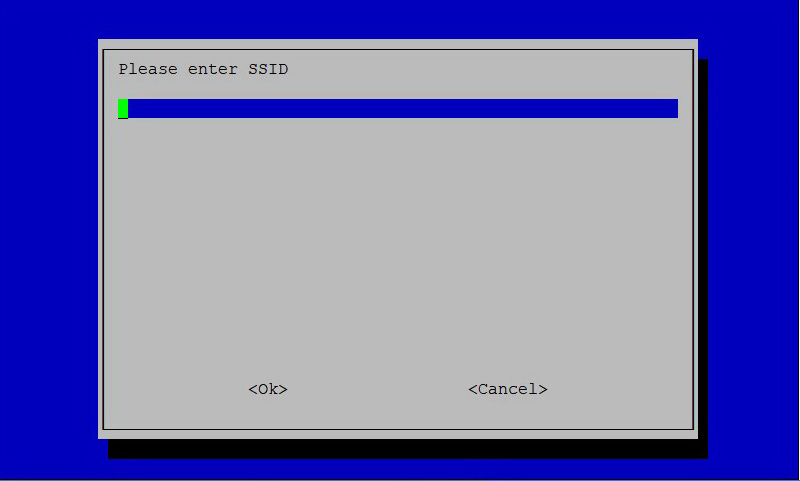
Next, we configure our network, in my case Wi-Fi, enter ssid (network name) and password to it.
With basic, the SSH connection is already enabled, so this step can be skipped. If not open, then open access for remote connection via SSH>
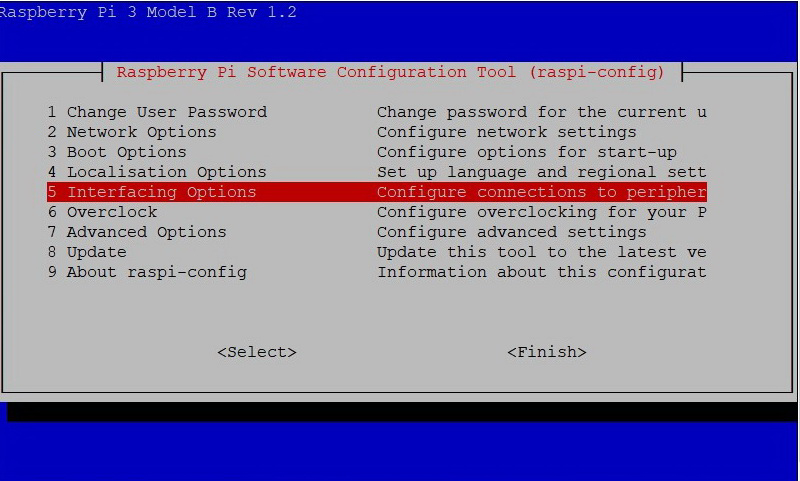

More information about the configuration utility settings is here:
Some info on rasp-config .
Reboot by running the command:
sudo reboot
Log in again by entering a username and password.
Find out the IP address of Raspberry by specifying the command:
ifconfig
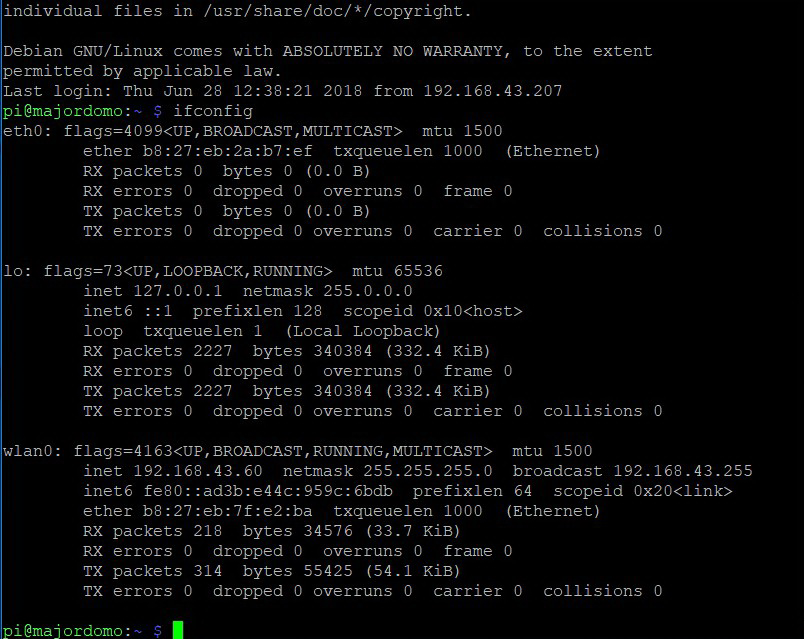
wlan0, in my case, and there is a wireless interface.
Having set the ping command, we can check access to Internet
Ping 8.8.8.8
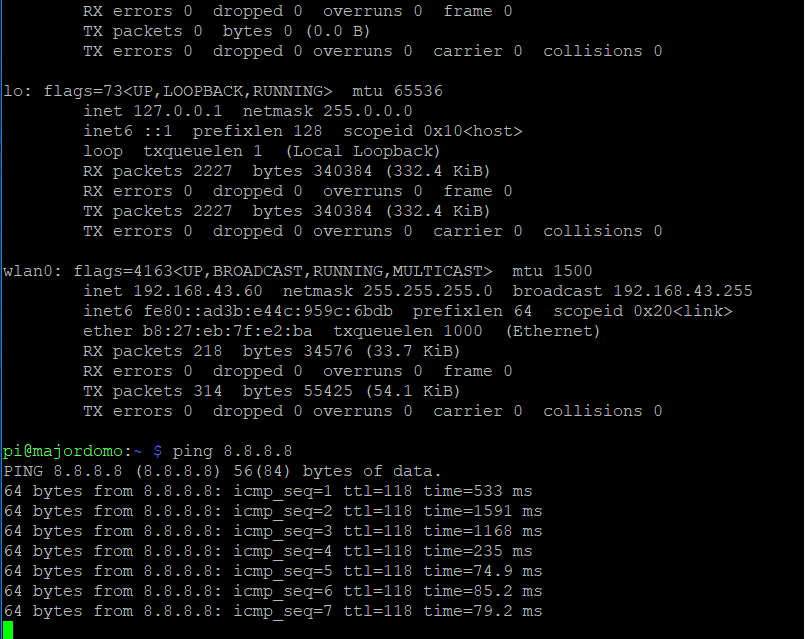
If everything went well, we see the answers.
Exiting the ping utility (and from many utilities)
ctrl + c
After that, we can work under a convenient and familiar operating system.
For windows 10 I give an example:
Download the program PuTTY, choosing your bit OS Windows.
→
Link to download choice→
Putty for 64bitRun the program PuTTY.
PuTTY Step-by-Step Launch
Connection window appears:
Specify the IP address of Raspberry:

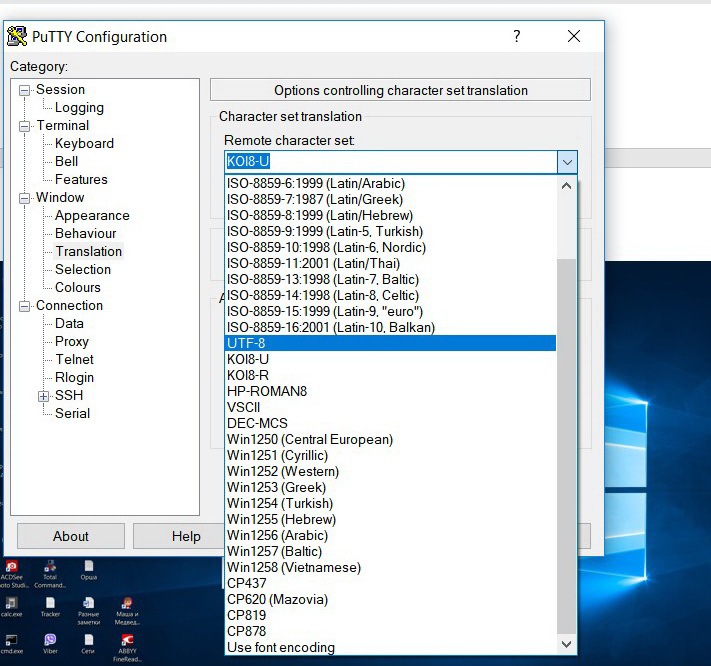
Next, in the settings, set the Terminal - Keyboard:

We set the coding utf8, in Window - Translation
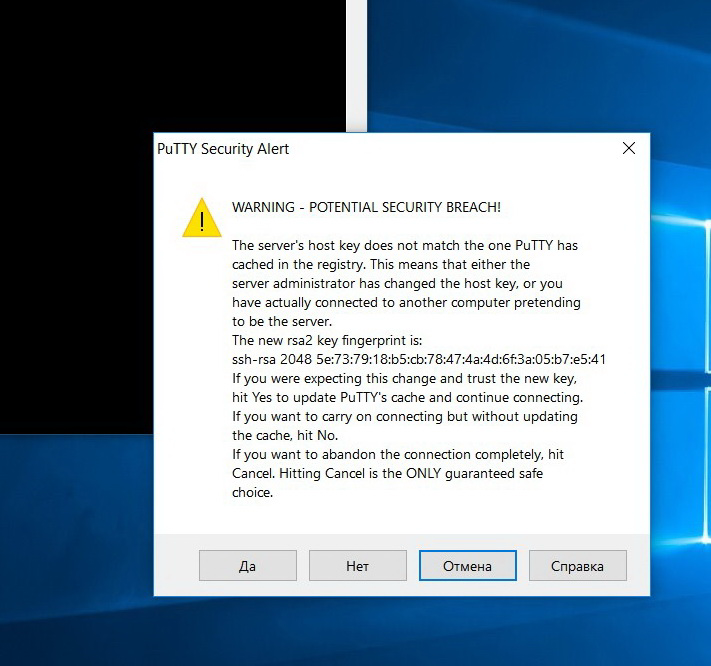
Push OPEN
If you connect for the first time, the system security prompt appears. Click YES.
Request login, and then the password. As with the first connection.
When you enter the password as usual, the characters are not displayed.
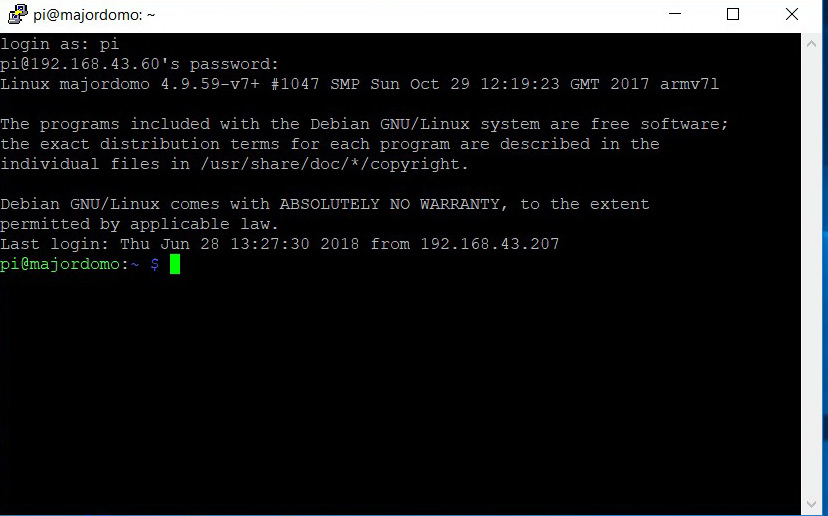
We check, just in case, our IP address by specifying the command
Ifconfig
On the working PC, in the browser we type the address of the board:
Congratulations!
The first step has been taken. You get to the MajorDoMo program settings window.
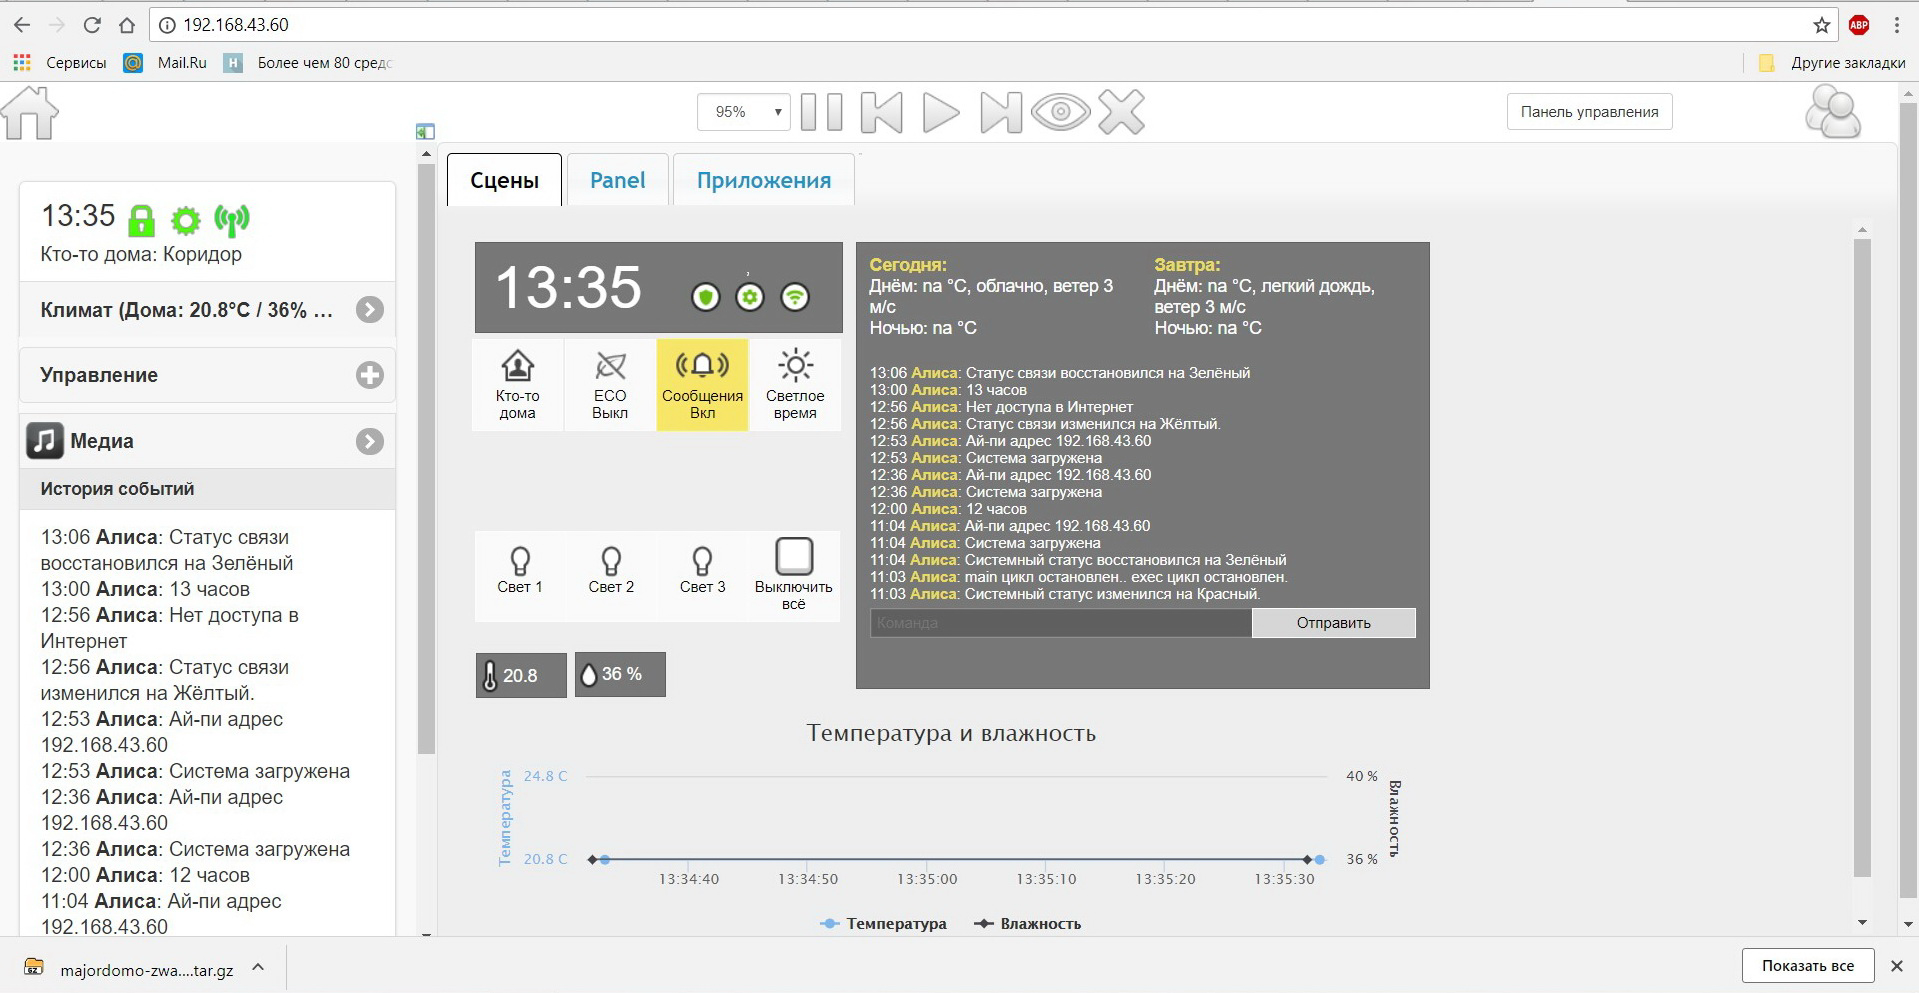
But it’s still too early to rejoice, you have to install and configure Z-Wave itself, to deal with the administration program of your “smart home”, its programming, etc.
Sources:
Technology Information from WikipediaZ-wave allianceZ-wave.meZ-wave.ruZ-wave.byDeveloper site MajorDoMoForum