This story began a year and a half ago, when the lighting control units “noolite” fell into my hands (well, as I did, I bought it myself, I have a weakness for all sorts of interesting hardware). Then at my disposal were two units of the SB series and an MTRF-64 adapter. The blocks of this series attracted me by the fact that they can be inserted into the home wiring without significant rework: I pulled out the switch and inserted the unit instead, and hung the switch on the wires that had been pulled out of the unit. In this configuration, the light can be controlled both from the radio channel and according to the classic - a switch. Of course, there is one drawback: the blocks in this series do not support feedback, but we would like, because there is one in the MTRF-64, but oh well. But then I refused to buy the gateway in favor of the adapter, potentially its potential is wider than that of the gateway.
Having a lot of blinking in the chandelier, there was a desire to bring it all to some common denominator, but, apparently, other interesting pieces of iron eclipsed this desire, because the blocks were sent to the far box. So they would have been there if, until recently, I hadn’t paid attention to them
more precisely to an indecently thick layer of dust on them .
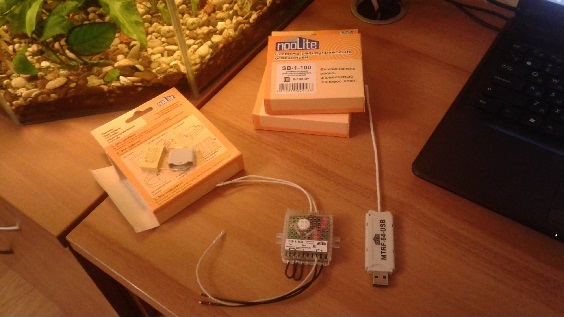 Power unit SB-1-150 and MTRF-64
Immediately in my head a picture emerged in which I turn off the light before going to bed without getting out of bed, or using one button click I use the “I'm leaving” script, which turns off everything that should be turned off in my absence.
Finally, it was decided to act. Why did I begin to rivet my bike and did not buy the finished system right away? Just because I wanted to do something with my own hands. You know this feeling when you collected something, and it works. Plus, I finally begin the study of some object-oriented language with the example of a real project (I chose python 3).
Idea
Everything is simple - control of light and household appliances from anywhere in the house. As the main control device, the Raspberry Pi model B + was chosen in conjunction with the MTRF-64. In view of the lack of experience in developing such applications, it was decided to start with something simple. So I came to the Telegram bot implementation.
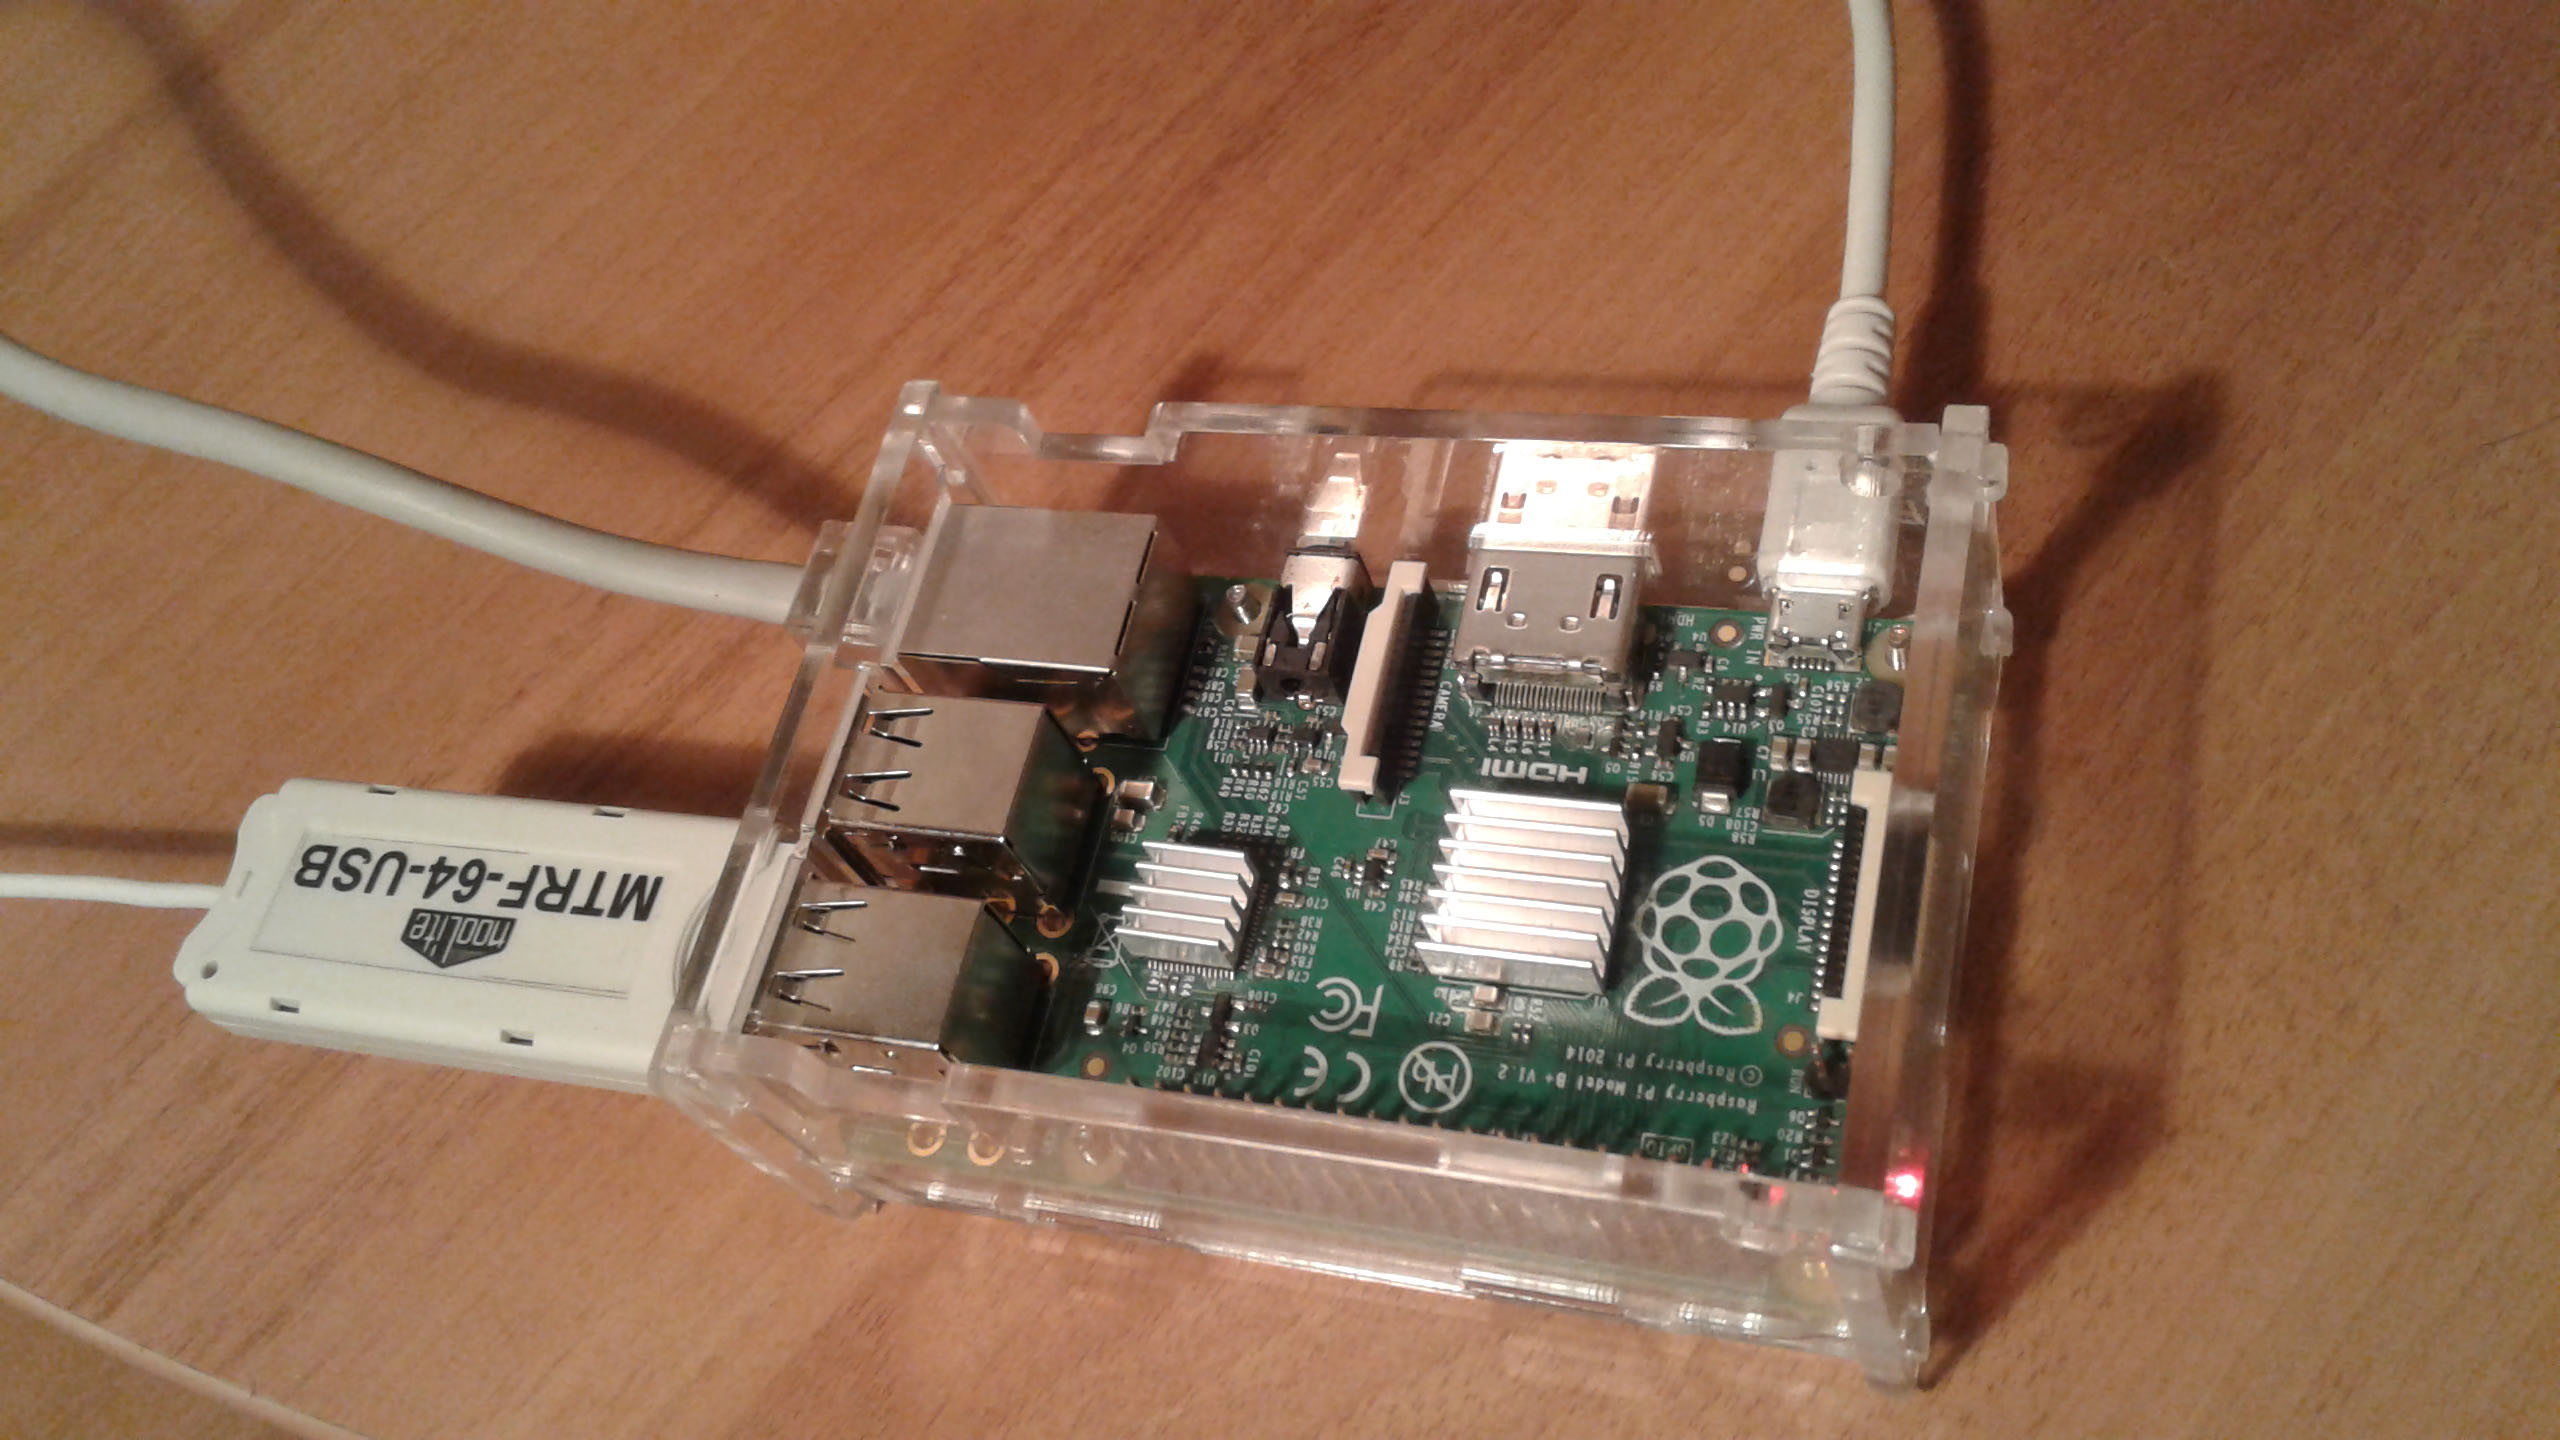 Raspberry Pi B + and MTRF-64
For myself, I decided that for the first time the following bot functions would be enough for me:
- Control of light and home appliances;
- Support for dimmable devices (light, exhaust hood, etc.);
- The distribution of devices by room;
- Support for scripts to quickly manage a group of devices;
- Adding users and distributing them into groups: the owners (can control the devices in the house, have access to the settings of the house), the guests (can manage the devices in the house, do not have access to the settings of the house), the subscribers (wait for the owner to invite them into the house) .
Installation
First, let's download the operating system for our raspberry pie. I prefer the official for this
Raspbian shawl . It is convenient to upload an image to a CD using the Win32DiskImager utility.
Here a little dirty trick was waiting for meThe fact is that I used to work with raspberry remotely, but due to the fact that in recent versions of Raspbian, SSH access is blocked by default, I had
to get close to using such a USB-UART adapter
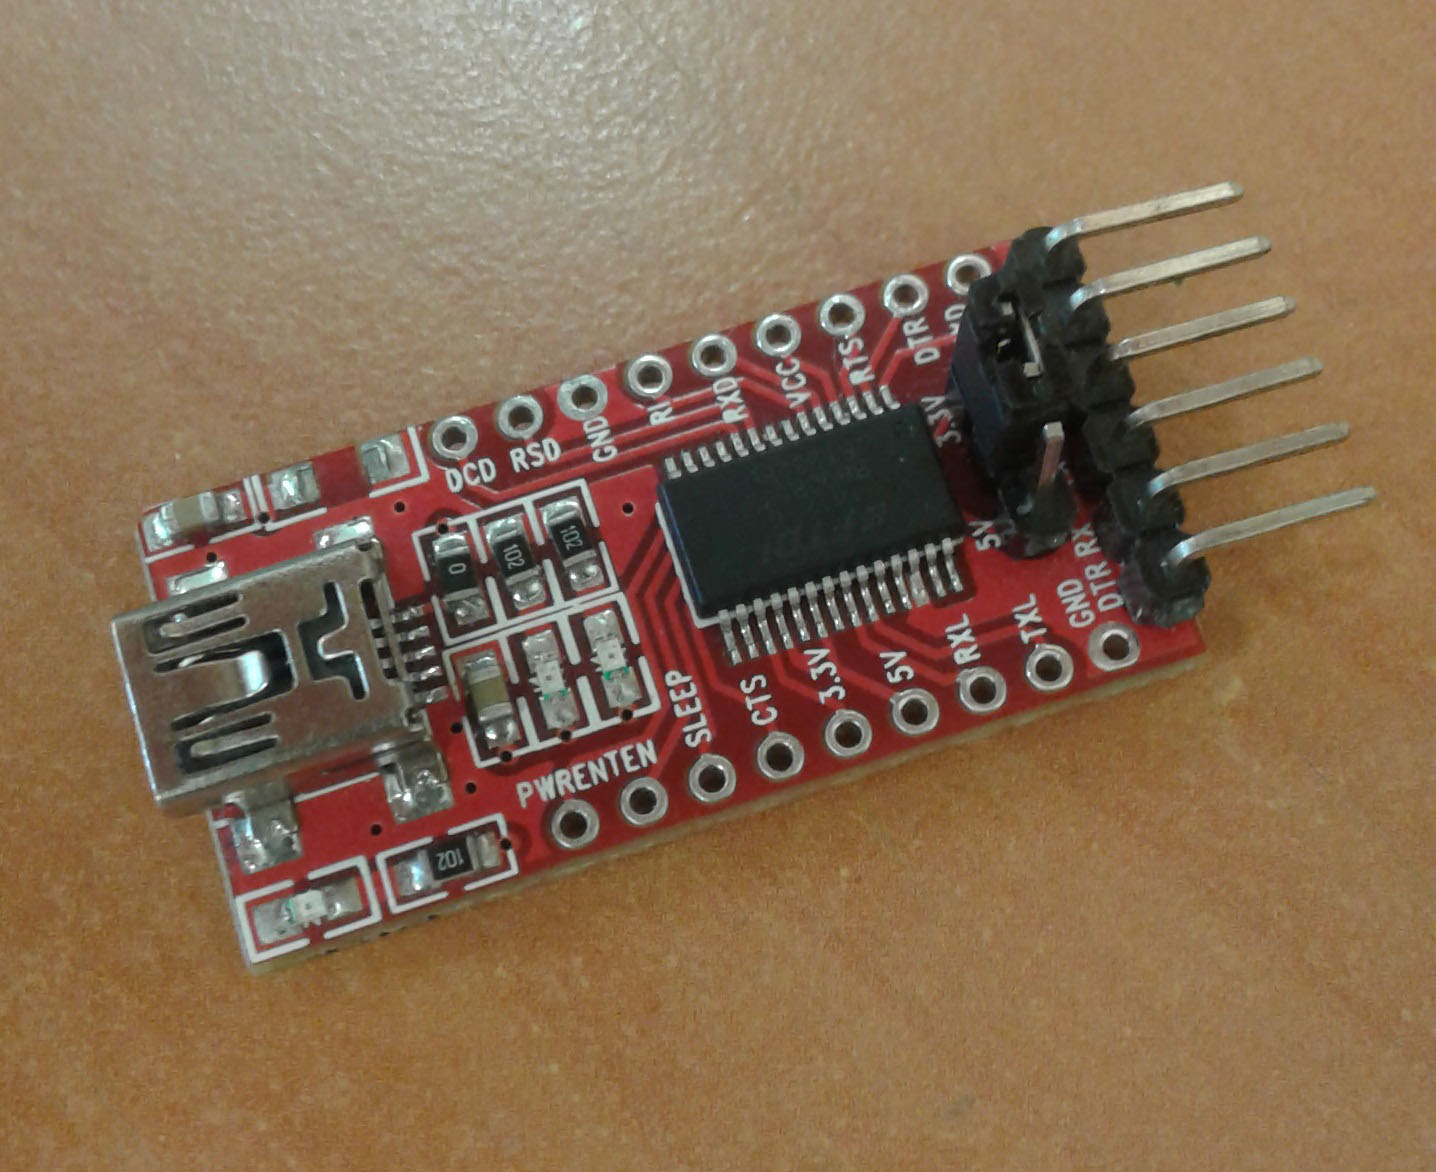
1. We connect the whole thing and log in:
login: pi password: raspberry
2. Getting started, it is advisable to make sure that the latest versions of programs are used. You might think: we just downloaded the distribution, where is it fresh? But no ...
sudo apt-get update sudo apt-get -y dist-upgrade
3. Put the package manager pip3 and git:
sudo apt-get install -y python3-pip git
4. Download the required library bot. I use the pyTelegramBotAPI library, which takes on all the nuances of sending and receiving HTTP requests, allowing you to concentrate directly on the logic:
sudo pip3 install pytelegrambotapi pyserial
5. Download the bot:
sudo git clone https://github.com/DZimasik/nooBot.git
Before starting the bot, you need to register it, i.e. get its unique id (token). Another special bot,
@BotFather, will help us do this. Just send him
/ newbot and he asks to come up with a name for our new bot, this name will be displayed in the Telegram contact list. BotFather proposes to come up with a unique username bot. The only restriction is that the username must end in “bot”. Username is also used to find a bot among many others.
In principle, this is enough to start. Some perfectionists here can ask an avatar bot or write a welcome message. After everything is entered, BotFather will return the token:
6. Add a token to the config.py file
sudo nano /home/pi/nooBot/config.py
token = '_'
7. Finally you can run the bot:
sudo python3 /home/pi/nooBot/noobot.py
We send to our bot
/ start . If the token is entered correctly, the keyboard will appear and we will see the message:
Plan for the future
At this stage, I control the light in the bedroom and the living room, but in the future I plan to buy more power units (this time with feedback) and transfer all my lighting to remote control. Also in the plans to add bot support for feedback in order to be able to recognize the status of devices and sensor parameters in the house, while outside it.
That's all for now. I will be glad to hear your opinion. All good!
Useful links: