
If you want to use the advantages of VDS and at the same time protect yourself from an unscrupulous overseat, when a provider puts a node under the string and does not balance the load, there are two ways.
You can find your reliable VDS-hoster. Or kill all the Sith yourself and make your own death star (node) - order a dedicated server and transfer all your VDS there. After all, then we will know for sure that all resources are only ours and will always be available. Yes, and we will be able to install any OS, which we want, any software, which will be impatient, and Beatrix will please parrots due to the high frequency of the processor. Who knows, maybe even the bosses will be generous and write out the prize. Go!
We count how many midichlorians we have
First you need to find out the total cost of renting the VDS fleet and the real consumption of processor resources, RAM / permanent memory, the number of IP. Find out the frequency of the processor that is allocated to your VDS. Here at all hosters individually - we look at the graphics, we consider the prices.
Choose the right body
Now that we know the current resource requirements, we select the appropriate dedicated server.
CPU
When choosing a processor, it is important to consider - the frequency of the cores can be significantly higher than on the current VDS. If it is two times higher, then one can be considered as one core for two VDS cores. There may be a storm of indignation, but it should be understood: all projects are different, and this is the easiest way to choose a processor. In general, we take the number of cores that are actually used by the old VDS, if the frequency of the cores is about 2 Ghz divided by two.
The resulting value is the minimum number of kernels that is required.
Memory
With RAM and hard disk, everything is simple. We summarize the resources of VDS, add 1 GB of RAM and ~ 10 GB of hard disk. These additional resources are needed for the OS and the hypervisor control panel. If you are going to increase the amount of content - lay a reserve of resources for the growth of the project.
IP addresses
As in the case of memory, we take as many addresses as on VDS + 1 under Dedic.
We order the server corresponding to our requests, and taking into account the mentioned nuances. We select Debian 9 as the OS, it is for this OS that the suitable Proxmox control panel is made.
Wake up power
After some time, we will have root access on a new Dedik.
It's time to say a few words about the warm, lamp and free Proxmox hypervisor control panel. Yes, the panel itself is free - developers earn on a subscription. Subscribers, in turn, receive a more stable version of the panel and the ability to add more nodes in cluster mode. But for our goal with the head enough of the free version.
Relatively recently, the panel has been largely updated, now it looks very modern and functional. It supports KVM and LXC virtualization, allows you to organize your ceph-cloud, supports redundancy, in a word can do everything that an ordinary VDS hosting user may need.
Getting Started Installing Proxmox
Connect to the server via ssh using putty or another ssh client and execute the following commands in sequence:
echo "deb http://download.proxmox.com/debian/pve stretch pve-no-subscription" > /etc/apt/sources.list.d/pve-install-repo.list wget http://download.proxmox.com/debian/proxmox-ve-release-5.x.gpg -O /etc/apt/trusted.gpg.d/proxmox-ve-release-5.x.gpg apt update && apt dist-upgrade apt install -y proxmox-ve postfix open-iscsi apt remove -y os-prober
After the installation is completed, go to Proxmox, for authorization, we contact the browser to port 8006 of the traffic connection
https://IP-:8006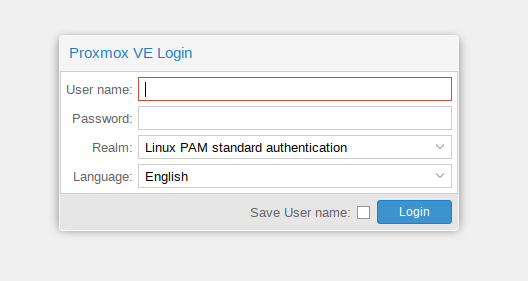
We also enter as root, the interface is pretty well translated into a great and mighty one - you can safely use it.
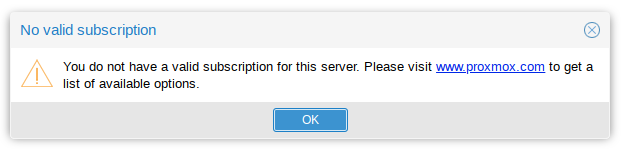
Once logged in, you will see a message with a hint to subscribe. It is not necessary to do this - the panel will not stop working as in the case with trial versions of programs.
Before creating the first VDS on a new server, you need to set up a network bridge so that everything is grown-up. At this stage, you may need KVM or ipmi-kvm (if something goes wrong, and you will need to restore the availability of the server over the network).
We return to ssh and edit the config / etc / network / interfaces using plebeian nano or orthodox vim. We give a config to this look:
source /etc/network/interfaces.d/*
Having saved the edited config, we send Dedic to reboot. In addition to setting up the network, it will also load the new kernel.
After starting the server, we again turn to SSH in order to download the ISO images of the operating systems for future VDSs, as well as the sysrescuecd image. Images need to be folded into the / var / lib / vz / template / iso directory
For download, use wget and direct links. You can not download system images if you just want to transfer existing VDS to Dedic. But the sysrescuecd image may be needed to service the VDS, so we highly recommend downloading it immediately.
Go to conquer a distant galaxy
It's time to create a VDS on our Dedik: click on the button “Create VM” in the upper right corner of the Proxmox panel, fill in the fields on all tabs using data from any old VDS. The image format is chosen qcow2.

Disk images will be created along the path / var / lib / vz / images / [here is the ID of the new VDS].
We request from the VDS-hoster images in qcow2 format and load them instead of the previously created ones. Select VDS in the left list and launch it with the “Start” button. Now we have got our virtual server with all the projects, it remains only to correct the network settings in the VDS itself and change the DNS to the IP of the new virtual machine. These settings can be made through VNC, which is available via the “Console” button.
Monitoring
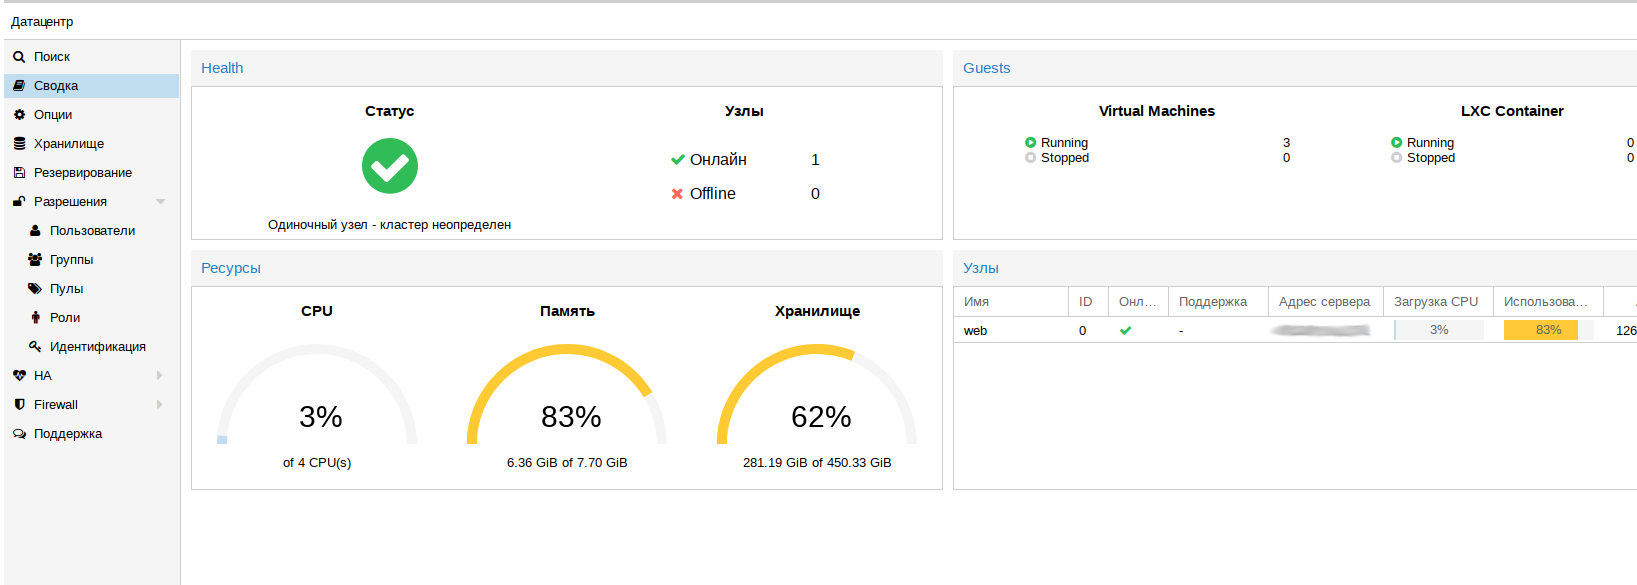
After completing the transfer and changing the DNS, we begin to track the load indicators. This is not necessary, but useful. For such monitoring, you can view a general cluster summary.
In the summary of the node more detailed information:
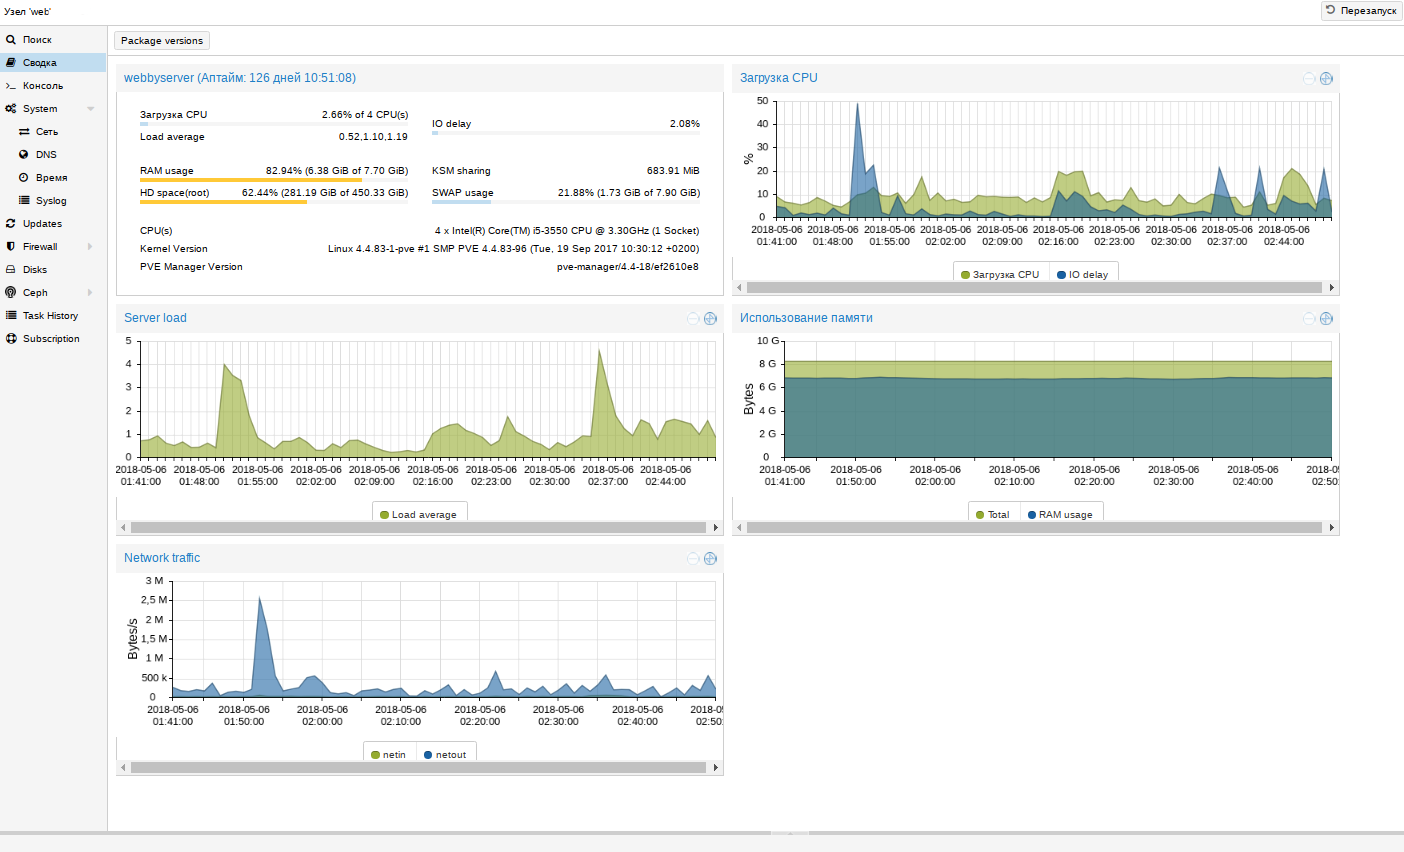
If suddenly it turns out that a resource of a node is running out, using VDS reports, you can determine which of them consumes a lot of resources and optimize the services of the problem VDS. When the projects outgrow the current server, to switch to a more productive hardware it will be enough to rearrange the disks from one server to another. Such work takes about 15 minutes - much faster than the migration of VDS between nodes.
Dedik also has disadvantages, of course, but Proxmox helps to level them. The first is that if Dedik lies down, all VDS will fall down. The problem is solved by reservation, but more dedikov will be needed. Even when using a dedicated server, you need to configure raid 1 and monitor the state of the disks with the help of smartd (and Proxmox can do this). In the case of VDS, the same problem is solved by ordering virtual machines from several providers, but this is not very convenient.
Switching to a dedicated server is a reasonable step when the cost of leased VDS is comparable to the price of a dedicated server. You can choose a ready configuration or collect your video server at
FirstDEDIC . Do you want projects to fly - choose high-speed NVMe-drives (2-3 times faster than SSD).