Many were faced with the problem of implementing a beautiful display of buttons for UITableViewCell when shifting to the left. Some used the standard out-of-the-box functionality, others bothered on their own implementation, while others cost Unicode characters. In this article I will tell how to achieve maximum customization of UITableViewRowAction.
First, a little theory:
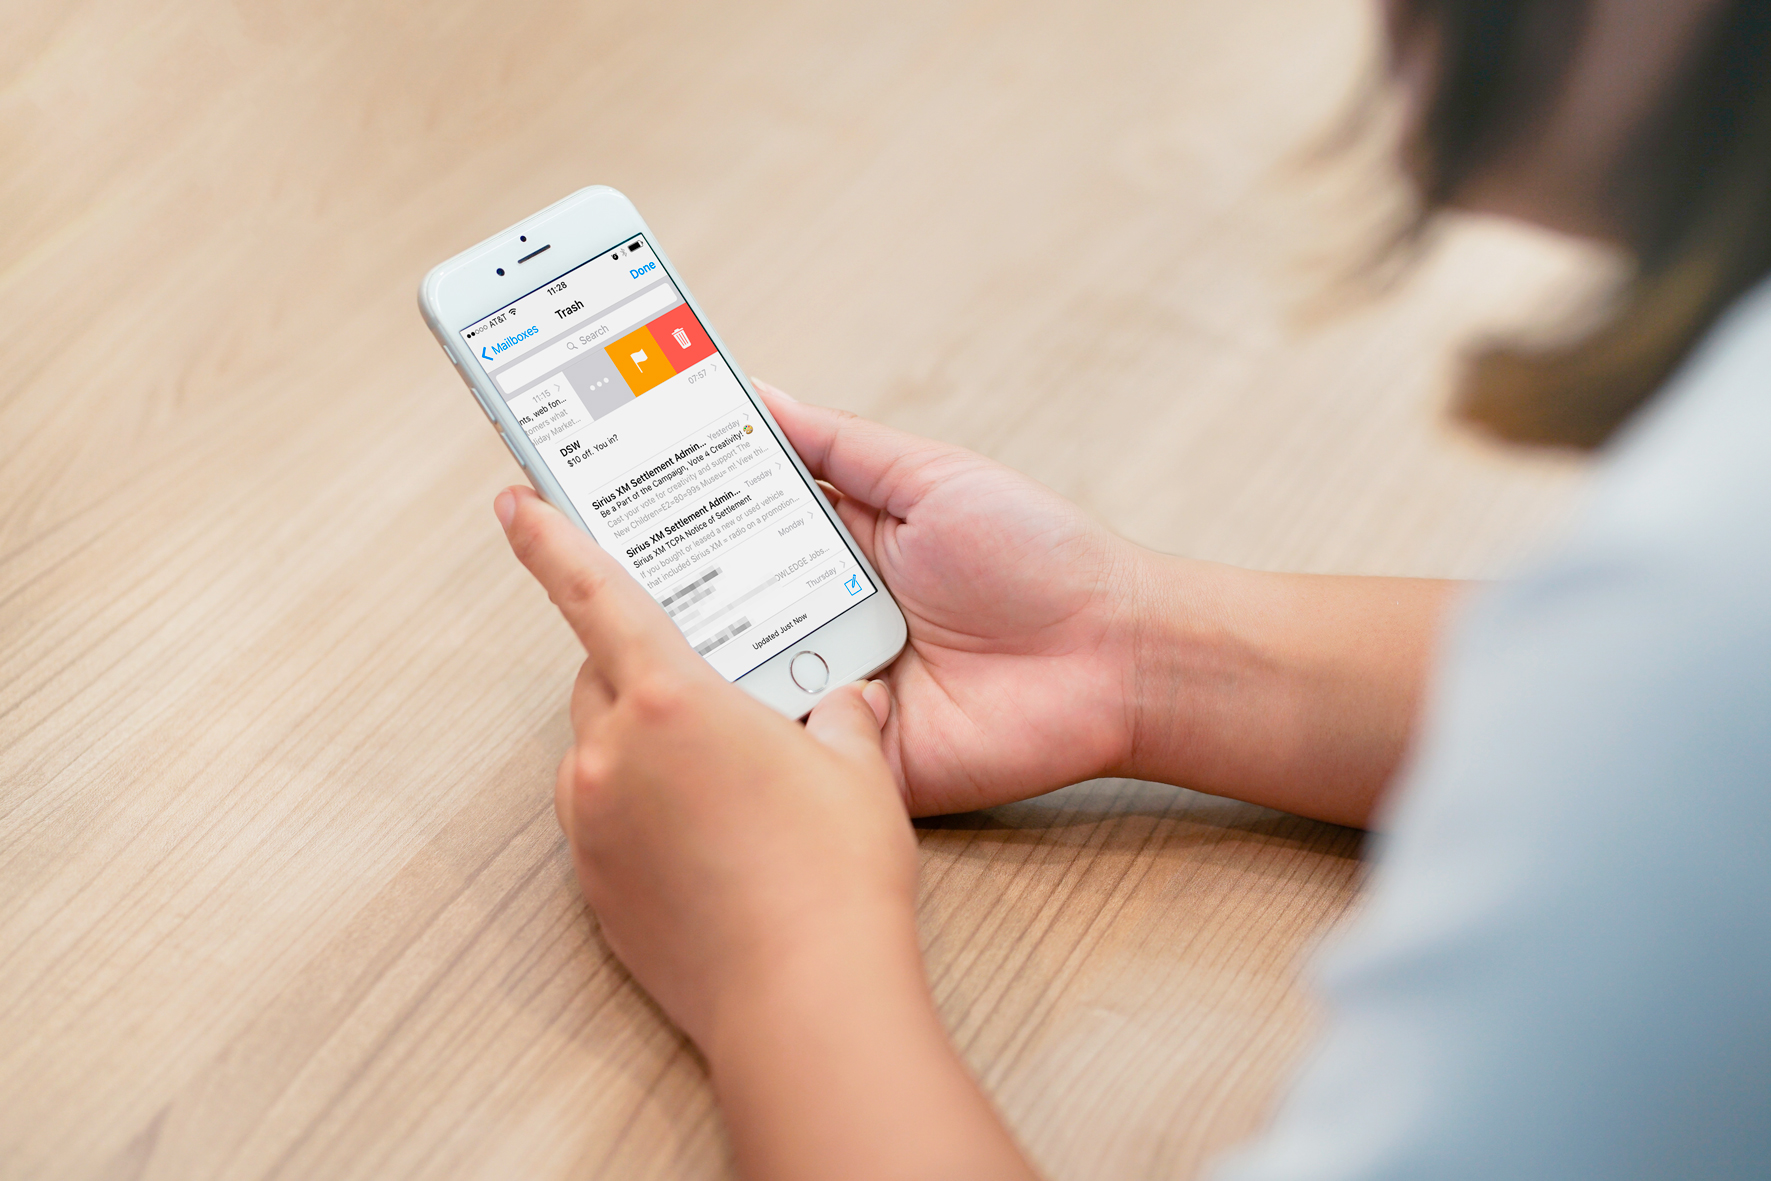
UITableViewRowAction is a class that allows the user to perform certain actions on a given cell (such as “delete”, “change”, etc.) when the cell is shifted to the left. Each instance of this class represents one action to perform and includes text, style, and a click handler. The iOS SDK allows us to configure the UITableViewRowAction as follows:
public convenience init(style: UITableViewRowActionStyle, title: String?, handler: @escaping (UITableViewRowAction, IndexPath) -> Swift.Void)
You can also set backgroundColor.
Existing methods.
Consider existing examples of implementation, or what I found on the Internet.
Method number 1 . Use the functionality "out of the box." This is enough to use ordinary buttons with text and background. It looks too easy and boring:
 Method number 2
 . Set backgroundColor using
UIColor (patternImage: UIImage) . This will achieve beauty, but will deprive of universality, will add a number of limitations and difficulties. Since the width of the UITableViewRowAction is calculated by the size of the text, you need to set the
title as a set of whitespace characters of a certain width. We will not be able to use this method for cells with dynamic height. If the cell increases in height, it will look something like this:
 Method number 3
 . Use Unicode characters. There is no need to calculate the size of the text with spaces and this method is suitable for cells with dynamic height. Looks nice:

But if we want to make the text under the icon, this method does not suit us.
Method number 4 . Use CoreGraphics to draw UI components. The idea is to manually draw an image with the desired location of elements (text and images). It is necessary to calculate the dimensions and coordinates for the location of each element. Using this method, we can make both text and image, arranging them as we need. But this method is difficult to implement. We want something simpler.
Other implementations . There are some more ready-made solutions. They use their own implementation of the cell with the addition of ScrollView and other logic. For example,
SwipeCellKit or
MGSwipeTableCell . But these solutions do not allow to achieve the standard behavior of iOS, they cover only one cell, unlike the UITableViewRowAction, which is created in the table delegate. For example, using one of these solutions, if you open actions when moving to the left for several cells, in each of them you have to manually close these actions, which is extremely inconvenient. To do this, you have to add your own logic to control open swipe actions. We want to create a simple solution that does not require additional costs, as if we are using a standard implementation of UITableViewRowAction.
Let's get started
Let's try to create a universal solution that allows you to make a UITableViewRowAction with any design that we need.
Create our inheritance class from UITableViewRowAction and define the main method for creating an instance:
typealias RowActionTapHandler = (RowAction, IndexPath) -> Void class RowAction: UITableViewRowAction { static func rowAction(with actionHandler: @escaping RowActionTapHandler) -> Self { let rowAction = self.init(style: .default, title: nil) { action, indexPath in guard let action = action as? RowAction else { return } actionHandler(action, indexPath) } return rowAction } }
Since UITableViewRowAction does not have a main initializer, for convenience we can make a static method, where inside we will create a UITableViewRowAction in a standard way and drop an actionHandler into it to handle the click.
Now let's try to achieve universal customization of the UITableViewRowAction button. The idea is to get the look of a button from a ready-made UIView (which can be configured in the usual xib-ke). So we can make a button of any kind, based on individual preferences (any font of text, size and location of elements, etc.).
We have two things we can change in UITableViewRowAction:
backgroundColor and
title . At the moment, the only way to change the appearance of the UITableViewRowAction button is to change the backgroundColor property. Therefore, our goal is to transform: UIView -> UIImage -> UIColor. We can get the color using the image as follows:
UIColor (patternImage: UIImage) . And we can get the image from UIView by rendering it using the standard CoreGraphics framework.
But first, let's define how we set the button sizes: “out of the box” there is no this functionality, and the size in UITableViewRowAction is calculated by the text size of the title field.
After conducting the experiments (measuring the calculated and real width of the button), I found a white space Unicode character that has the smallest non-zero width:
U + 200AWe will use it and create a constant:
private enum Constants { static let placeholderSymbol = "\u{200A}" }
Let's write a function to get a string of whitespace characters corresponding to the size we need:
private static let placeholderSymbolWidth: CGFloat = { let flt_max = CGFloat.greatestFiniteMagnitude let maxSize = CGSize(width: flt_max, height: flt_max) let attributes = [NSFontAttributeName : UIFont.systemFont(ofSize: UIFont.systemFontSize)] let boundingRect = Constants.placeholderSymbol.boundingRect(with: maxSize, options: .usesLineFragmentOrigin, attributes: attributes, context: nil) return boundingRect.width }() private func emptyTitle(for size: CGSize) -> String { var usefulWidth = size.width - Constants.minimalActionWidth usefulWidth = usefulWidth < 0 ? 0 : usefulWidth let countOfSymbols = Int(floor(usefulWidth * Constants.shiftFactor / RowAction.placeholderSymbolWidth)) return String(repeating: Constants.placeholderSymbol, count: countOfSymbols) }
The variable
placeholderSymbolWidth gets the width of our Unicode character, and the function
emptyTitle (for size: CGSize) -> String calculates the number of white space characters corresponding to
size and returns a string of these characters. The formula above uses the constant
shiftFactor . This is the coefficient of deviation of width from the nominal value. The fact is that as the width of the UITableViewRowAction increases, a small error increases (that is, the actual width of the button differs from the calculated width by the usual formula). To avoid this, we use this constant derived experimentally.
Also, UITableViewRowAction has a minimum width of 30 (For example, if you specify title = ""). This width is the minimum required for indents to the left and right of the header.
Update our constants:
private enum Constants { static let placeholderSymbol = "\u{200A}" static let minimalActionWidth: CGFloat = 30 static let shiftFactor: CGFloat = 1.1 }
Now let's get an image from UIView. We write the following function:
private func image(from view: UIView) -> UIImage? { UIGraphicsBeginImageContextWithOptions(view.bounds.size, view.isOpaque, UIScreen.main.scale) guard let context = UIGraphicsGetCurrentContext() else { assertionFailure("Something wrong with CoreGraphics image context"); return nil } context.setFillColor(UIColor.white.cgColor) context.fill(CGRect(origin: .zero, size: view.bounds.size)) view.layer.render(in: context) let img = UIGraphicsGetImageFromCurrentImageContext() UIGraphicsEndImageContext() return img }
This function converts our
view into a picture. At the same time, the size of the image corresponds to the size of the
view .
The last step remains, where we will implement a method for customizing a UITableViewRowAction using a UIView:
func setupForCell(with view: UIView) { guard let img = image(from: view) else { return } self.title = emptyTitle(for: img.size) self.backgroundColor = UIColor(patternImage: img) }
Here we use the previously written functions to configure our button and set the
backgroundColor using the resulting image.
That's all. We got a one-stop solution for UITableViewRowAction and now we can customize it in any way using UIView.

Starting with iOS 11, Apple has added a new swipe action class for cells in the table - UIContextualAction. It allows you to immediately set the image that will be displayed on the swipe action (this is what we lacked all these years of using UITableViewRowAction). He was supposed to make life easier for us, but in addition to a new opportunity, he created additional problems. This class imposes restrictions on the size of the image, does not allow the use of both text and image, and also, the image must have a special format (template image). Therefore, I modified my solution to support svayp actions in iOS 11. Now, in order to create a UITableViewRowAction or UIContextualAction, you first need to create a RowActionFactory factory, configure it using our view (as we did above in the
setupForCell method
(with view: UIView)) and return the entity we need: UITableViewRowAction or UIContextualAction (using the
rowAction () or
contextualAction (for indexPath: IndexPath) methods, respectively). Below is an example of using RowActionFactory:
@available(iOS 11.0, *) func tableView(_ tableView: UITableView, trailingSwipeActionsConfigurationForRowAt indexPath: IndexPath) -> UISwipeActionsConfiguration? { var contextualActions: [UIContextualAction] = [] for actionType in rowActionTypes { // actionType - let rowActionFactory = RowActionFactory { (indexPath) in tableView.setEditing(false, animated: true) } let rowActionView = <...> // UIView rowActionFactory.setupForCell(with: rowActionView) if let contextualAction = rowActionFactory.contextualAction(for: indexPath) { contextualActions.append(contextualAction) } } let swipeActionsConfiguration = UISwipeActionsConfiguration(actions: contextualActions) swipeActionsConfiguration.performsFirstActionWithFullSwipe = false return swipeActionsConfiguration }
A complete solution can be found here:
TCSCustomRowActionFactory (github.com) .