Hello!
Today, I want to talk about one useful tool -
jsfiddle . Now, few developers are aware of its existence, since jsfiddle is very easy to use and quite functional. But maybe one of you will discover something new by reading this article. Let's get acquainted.
jsFiddle is one of the most popular web development environments (running in a web browser), allowing you to edit and run code written in HTML, JavaScript, and CSS, which will be called “fiddle”. It is possible to use libraries for javascript, such as jQuery.
One of the popular applications of jsFiddle is the insertion of a code snippet into blogs, the ability to share code via social networks and work together on code.
Work areas
Over the years, the site interface has undergone changes several times and at the moment it looks like this:

Editing layout. Area setting
The jsFiddle workspace is divided into four parts, the sizes of which can be changed at will:
HTML ,
CSS ,
JavaScript and
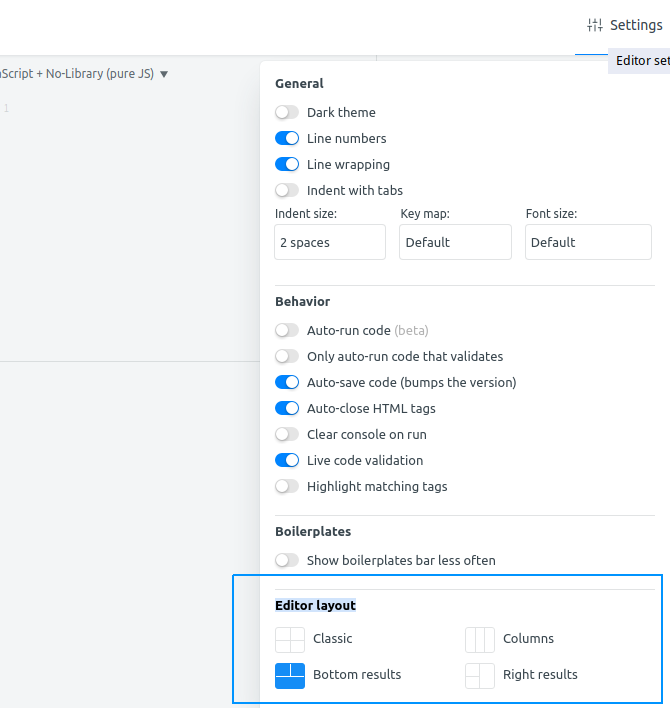
Result . If you still lack the area to view when resizing, you can use the layout editor in the settings. At the very bottom of the block that opens, you can see the
Editor layout item and choose a
layout convenient for you there.
06/05/2018 JSFiddle added another layout that allows you to build a workspace in the form of tabs. This was
mentioned earlier by
Oscar on his twitter.
HTML
When creating your project, we can not touch the html field, because by default it is the current version, at the moment it is HTML5. But further - better.
CSS
The css area allows you to prescribe the styles of our future project. A big plus of this tool is that when you add a tag, opening and closing brackets are put automatically. Exactly like indents when moving to a new line. We just need to press enter to go and continue to write code.
If you are an esthete and you accidentally lost the code, do not rush to panic. You can at any time press the
Tidy button on the top panel and align all lines automatically.
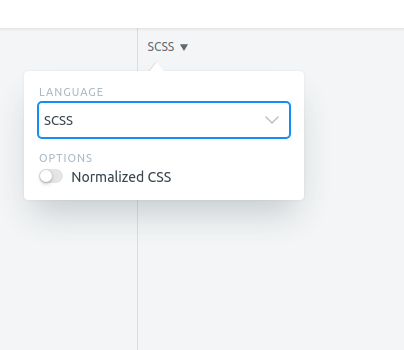
For more advanced developers, it is possible to switch from css to scss and activate the css file
normalize.css , which provides for HTML elements a better cross-browser compatibility in default styles. This means that you do not have to worry about the correctness of displaying your project in various browsers. This file will do everything for you.
Javascript
It's still cooler here. In addition to entering standard javascript, you can use popular js-libraries, for example React. To do this, you need to click on the link in the JavaScript area and select the language in the first drop-down list. If you do everything correctly, the selected language will be displayed in the title of this link. The default is
JavaScript + No-Library (pure JS) .

The second drop-down list is js frameworks and extensions. Here, almost everything you need. I usually use it only to enable jQuery (now 3.3.1).
Wandering over the projects of other users, I noticed that the third and fourth lists are practically not used by anyone. Practically! So you can skip them too if you don’t know what they are for.
On the vertical panel, to the left of the editing area, there is a line Resources - the cdnjs URL . In it you can place direct links to css and js files from third-party sources. For example, add fontawesome fontsResult
And so, let's say we have created an interesting project with you. In order to view it, we need to click the Run button on the top panel. The Result field will show us what we have done. Do not forget to choose a convenient layout for viewing and recommend it to users.
Here
JSFiddle Recommended Layouts can be useful to
you . This is an open source project that represents layouts (grids) inside your project. They can be used as an auxiliary tool for users who, in search of the right material, will be placed on the page of your development.
Saving, posting and publishing JSFiddle
Saving the project
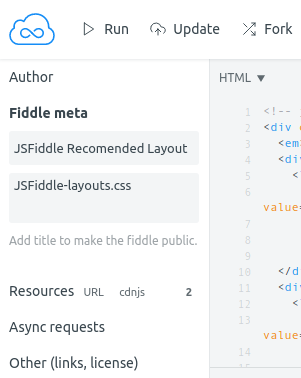
And now we have a cool project that we want to share with friends or just post it on our website. To do this, go to the upper left corner, where we have a vertical menu. Now we are interested in the
Fiddle meta item. In these two lines we will indicate the name of the project and a description that will be displayed for you, inside your profile, and for all users in the SERP. Enter the data. Then, go up a little higher, to the top panel of the site and click the
Save button. After the first save, it will turn into the
Update button.
Hooray! Your first feed is ready.
Project publication
And so, let's post our project on the site.
Again, on the top panel, after saving the project, we have the opportunity to share it. For this, find the new
Embed button.
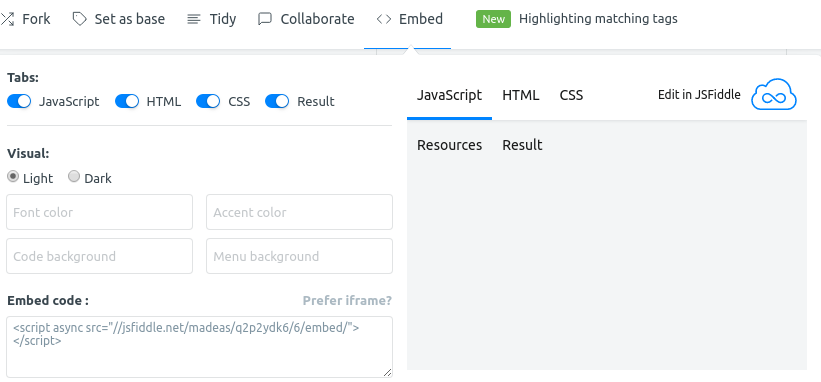
In the window that opens, remove unnecessary tabs (Tabs), select the color of the theme, text, background, or leave the default settings. Then click in the
Embed code field and copy the script to your site. Done!
There is another alternative placement option - using the frame. To use it, click on Prefer iframe? and copy the iframe. In it, you can also customize the height and width as you like. If you remove all unnecessary tabs (fields in the editing area) and leave only the result, then only you will see it on the site.
That's all! If you have questions and suggestions, write in the comments.
Source:
https://madeas.ru